I'm doing a sew along over in the
Vintage Lace Sew and Chat Facebook group. Join and participate for a chance to win a prize. The sew along begins on August 29th and ends on September 4th.
You can purchase the Grandpa Cardi pattern
here. There is a code for $2 off in the Vintage Lace Sew and Chat group that is good until the last day of the sew along.
Day 1 - Measurements, Pattern Assembly, and Adjustments
First - let's print the pattern and assemble it. This pattern does not include size layers, so you will be printing the pattern with all sizes shown.
Print from Adobe PDF Viewer on a desktop computer. Printing from a cell phone or tablet will not come out the correct size. Print at 100% (no scaling). Check the 1" square. If it's too small or too big, you will need to reprint. For a detailed post on printing the pattern with photos to show the exact Adobe printer settings - go
HERE.
Now, lets assemble the pattern. The pages are no trim and overlap. I find that assembling my patterns on my patio doors is the easiest way to do it.
Take your measurements and determine what size you need. If your bust measurement falls within a different size than your hips and waist - that's fine. You can grade the pattern between sizes.
Patterns for Pirates has a great blog post on "How to Measure Yourself". Find it
HERE.
If you want your cardi to be baggy, go up a size.
Also take the time to shorten or lengthen your pattern to suit you. The pattern is drafted for a 5' 5" height. If you are shorter or taller, it is recommended to adjust the length of the pattern by 1/4" for every inch difference in height. I'm 5' tall, but did not adjust the pattern since I did want my cardi to be a little longer. Patterns for Pirates has a great blog on how to do this. Find it
HERE.
Patterns for Pirates drafts for an hour glass figure. If your upper bust is a size smaller than your full bust, you may benefit from a full bust adjustment. See the Patterns for Pirates Blog on this subject
Here.
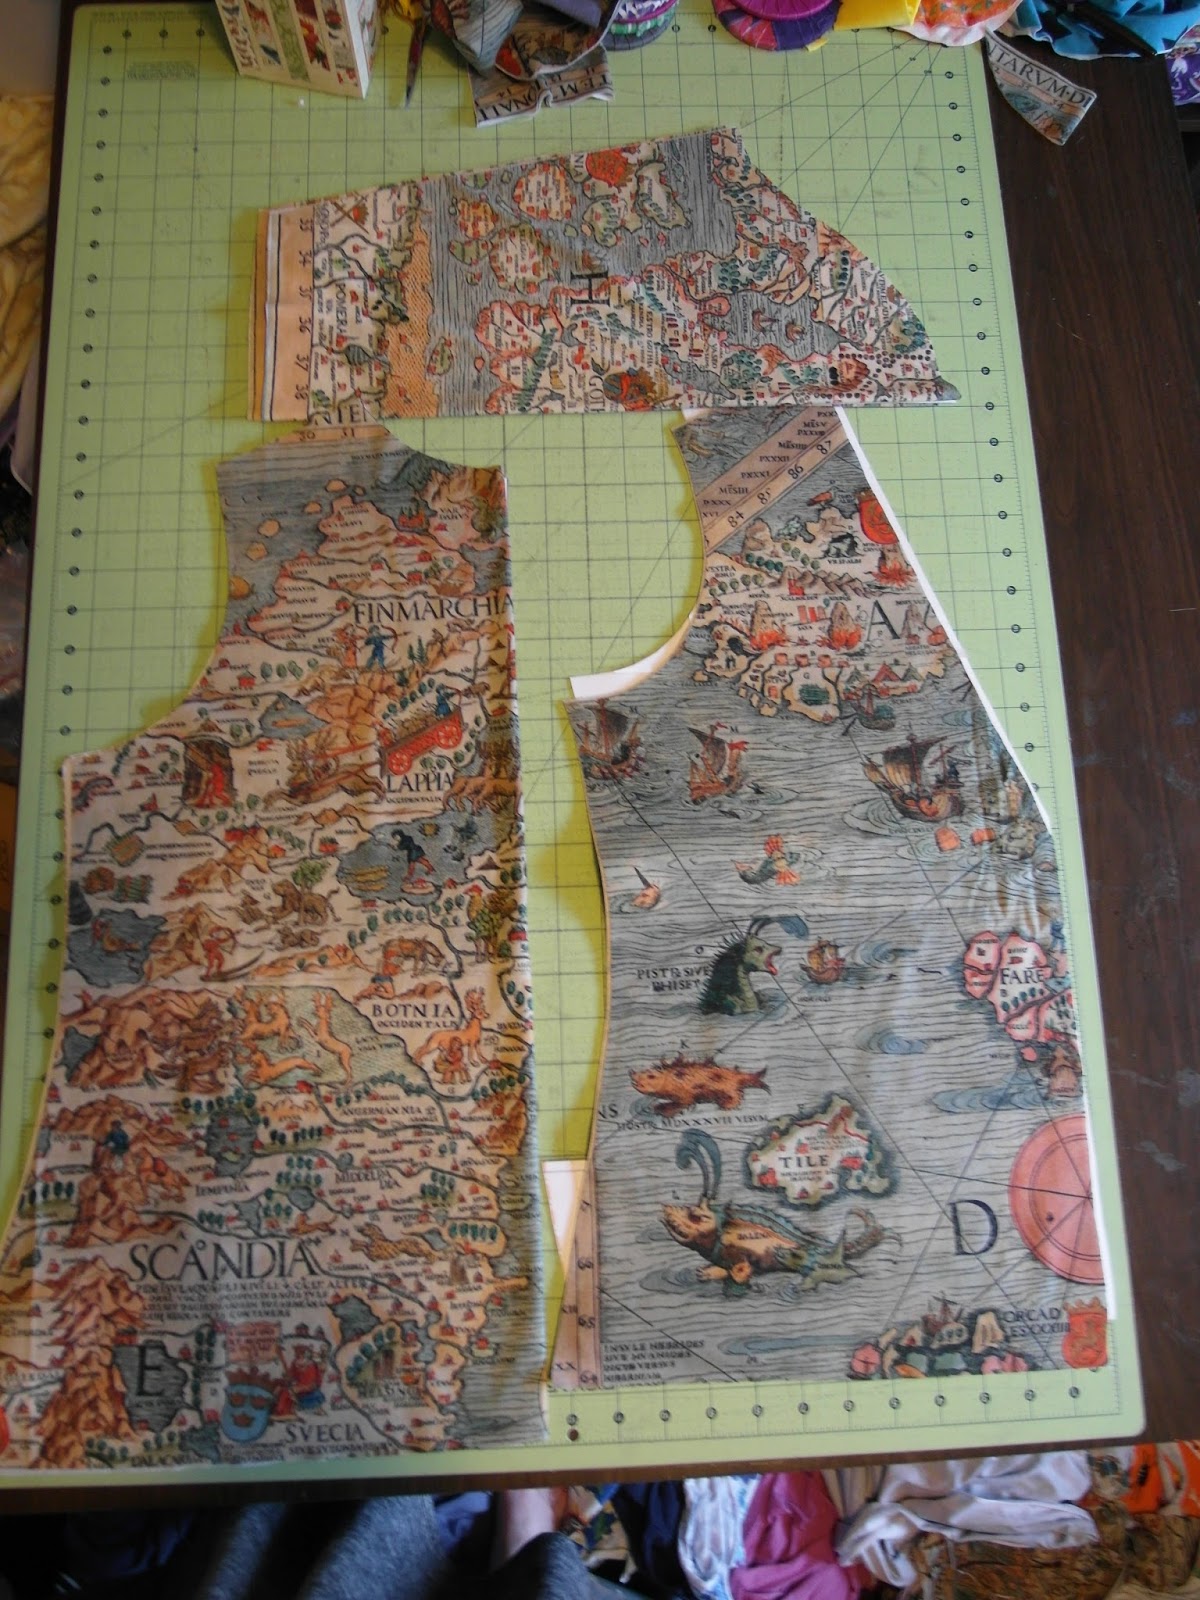
My chest is a size smaller than my waist, and my waist is a size smaller than my hips. To accommodate this, I grade between sizes. That's the wonderful thing about sewing your own clothes. See the Patterns for Pirates University: Grading between sizes blog
Here. Below is a photo to show my pattern piece with grading.
Day 2 - Fabric Selection and Prep
Always prewash fabrics before cutting and sewing to ensure you don't have any shrinkage or dye transfer after sewing. Most knit fabrics can be used. If you want to include pockets on your cardi, I highly recommend you use a knit that has 2-way stretch. If you use a 4-way stretch knit, it will sag and bag when using the pockets. If you use a 4-way stretch knit for the body, I would not add pockets.
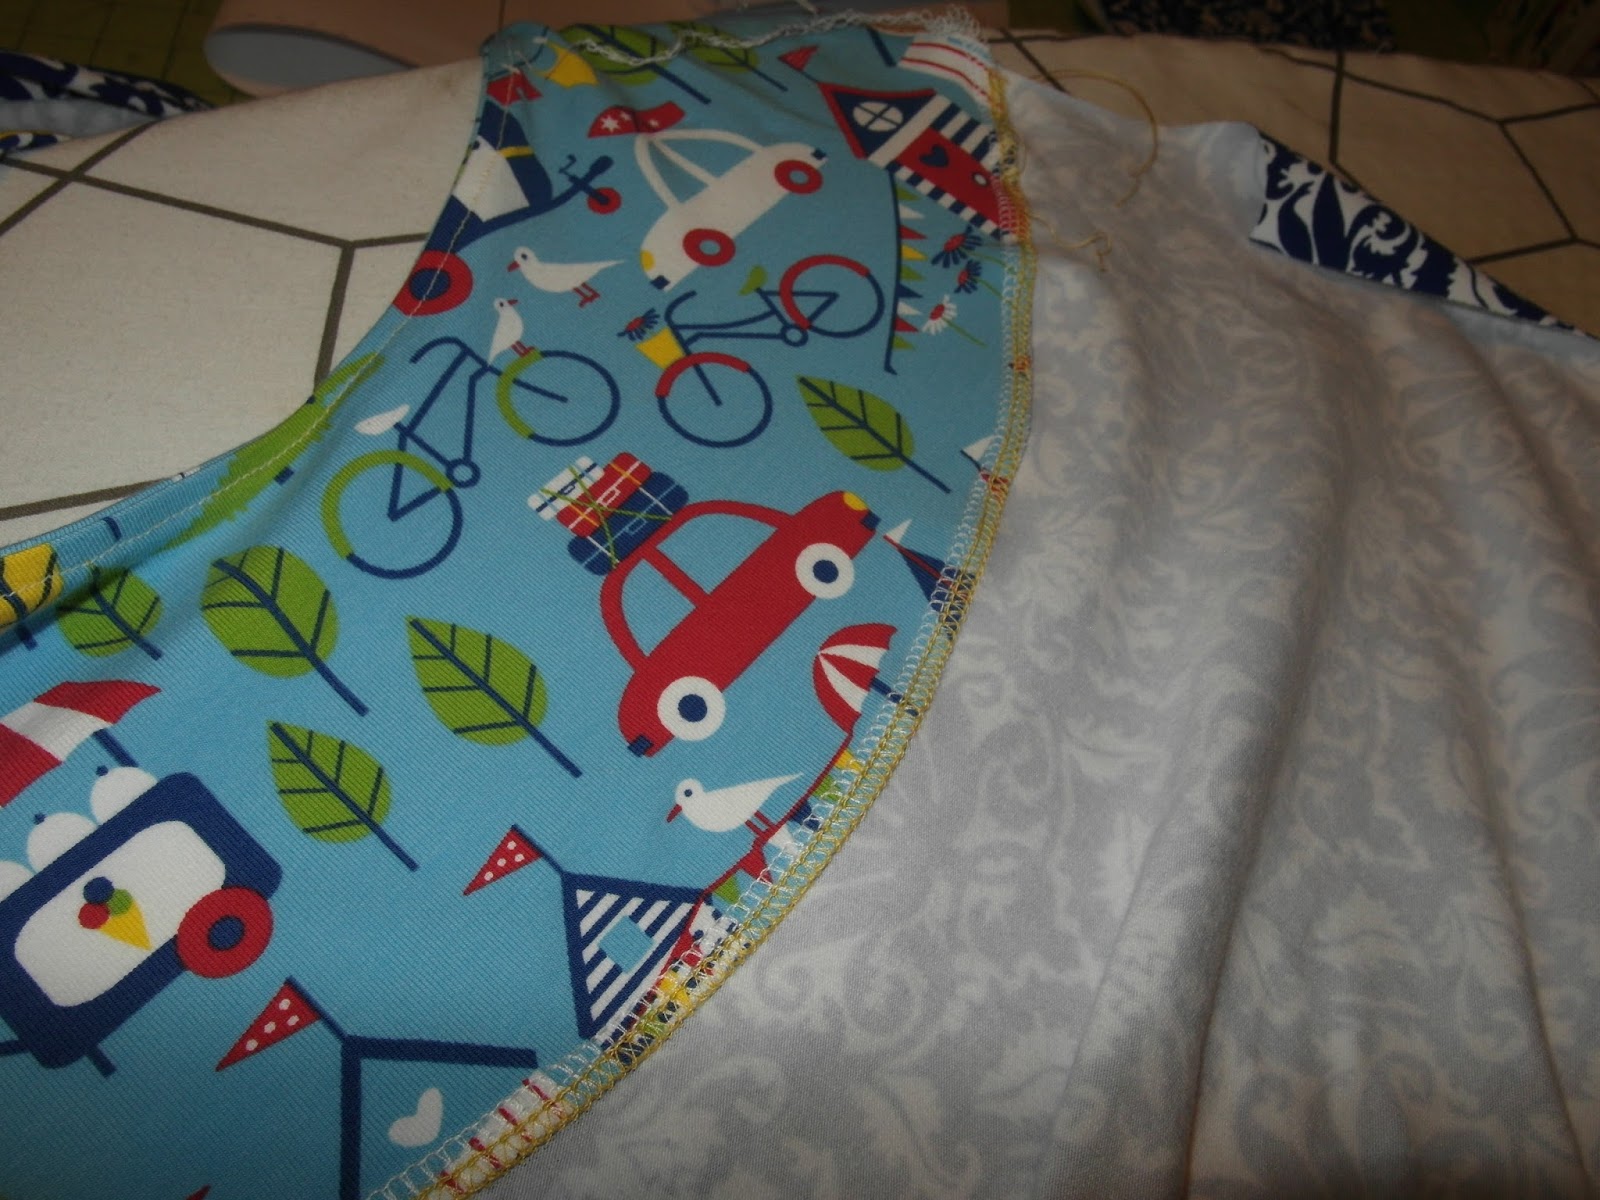
Here are my body pieces.
My helper insisted on getting in my way.
Here are my bands. I prefer to use a rib knit for bands on this type of item.
Also - be sure to make any placement marks that are needed on your pieces. I mark the notches on the bands using wonder clips.
Use a water soluble ink pen or a heat erasable pen to mark on your fabric. Try to be discrete just in case.
Day 3 - Cardi Body Construction
Today we will sew together the body and the sleeves. We will also sew on pockets and elbow patches if those options are selected.
First sew the front pieces to the back at the shoulders. Press the seam so the seam allowance goes towards the back piece.
Now line up the sleeves to the armscye. The notch on the sleeve lines up with the shoulder seam. Put a pin or clip here.
Now evenly spread the sleeve across the armscye and pin or clip along the curve. Now sew that seam.
Your sleeve is now connected. Time to do the other sleeve.
Both sleeves are now attached. Now it's time to sew the side seams.
Turn the cardi inside out. Butterfly the seam allowances at the armpit and pin or clip the seams together. Then clip or pin along the sleeve and the body. I like to sew from the armpit out. So I sew from the armpit to the bottom of the body, then sew from the armpit to the end of the sleeve (overlapping the stitching at the armpit).
Butterflying the seam allowances ensures you get a nice seam that matches up perfectly.
Day 4 - Cardi Finishing
Today we will sew on the bands and buttons - if desired.
The pattern says to only add it to half of the band. To ensure stability through repeated use (I know I plan to use my cardi a lot) more stabilizer is better. I ironed on interfacing across the entire band. The clips are placed where the notch would be for the v-neck.
My clips indicate the shoulder seam and the v-neck top.
First I sewed the sleeve cuffs and folded them in half to attach to the sleeves.
I pinned it at the sleeve seam (put the seam allowances going in opposite directions to get a nice seam match. Then sew in the round.
Turn them right side out and topstitch the seam if desired.
Now to add the bottom band (if you are adding one). If you choose the bandless option, you will hem the bottom of the cardi 1/2".
First we will iron the band in half lengthwise.
Then clip or pin it evenly across the bottom of the cardi. Do Not stretch the band.
Sew it on and turn it down and press the seam allowance up.
I would definitely top stitch this seam. I use my coverstitch for this. When I get to the end, I pull the threads toward me and clip them.
Then pull the garment to the back. This pulls the top threads to the back securing them. I clip the looper thread. Then tie them in a knot for security.
I love the look of a coverstitched seam.
Now time to add the neck band.
First sew the ends together of both of the neck band pieces Make sure they are right sides together (especially if you added interfacing for buttons).
Now sew the ends of the band in half with the right sides together. Secure the end of the thread and turn it right side out. Iron the entire band in half lengthwise.
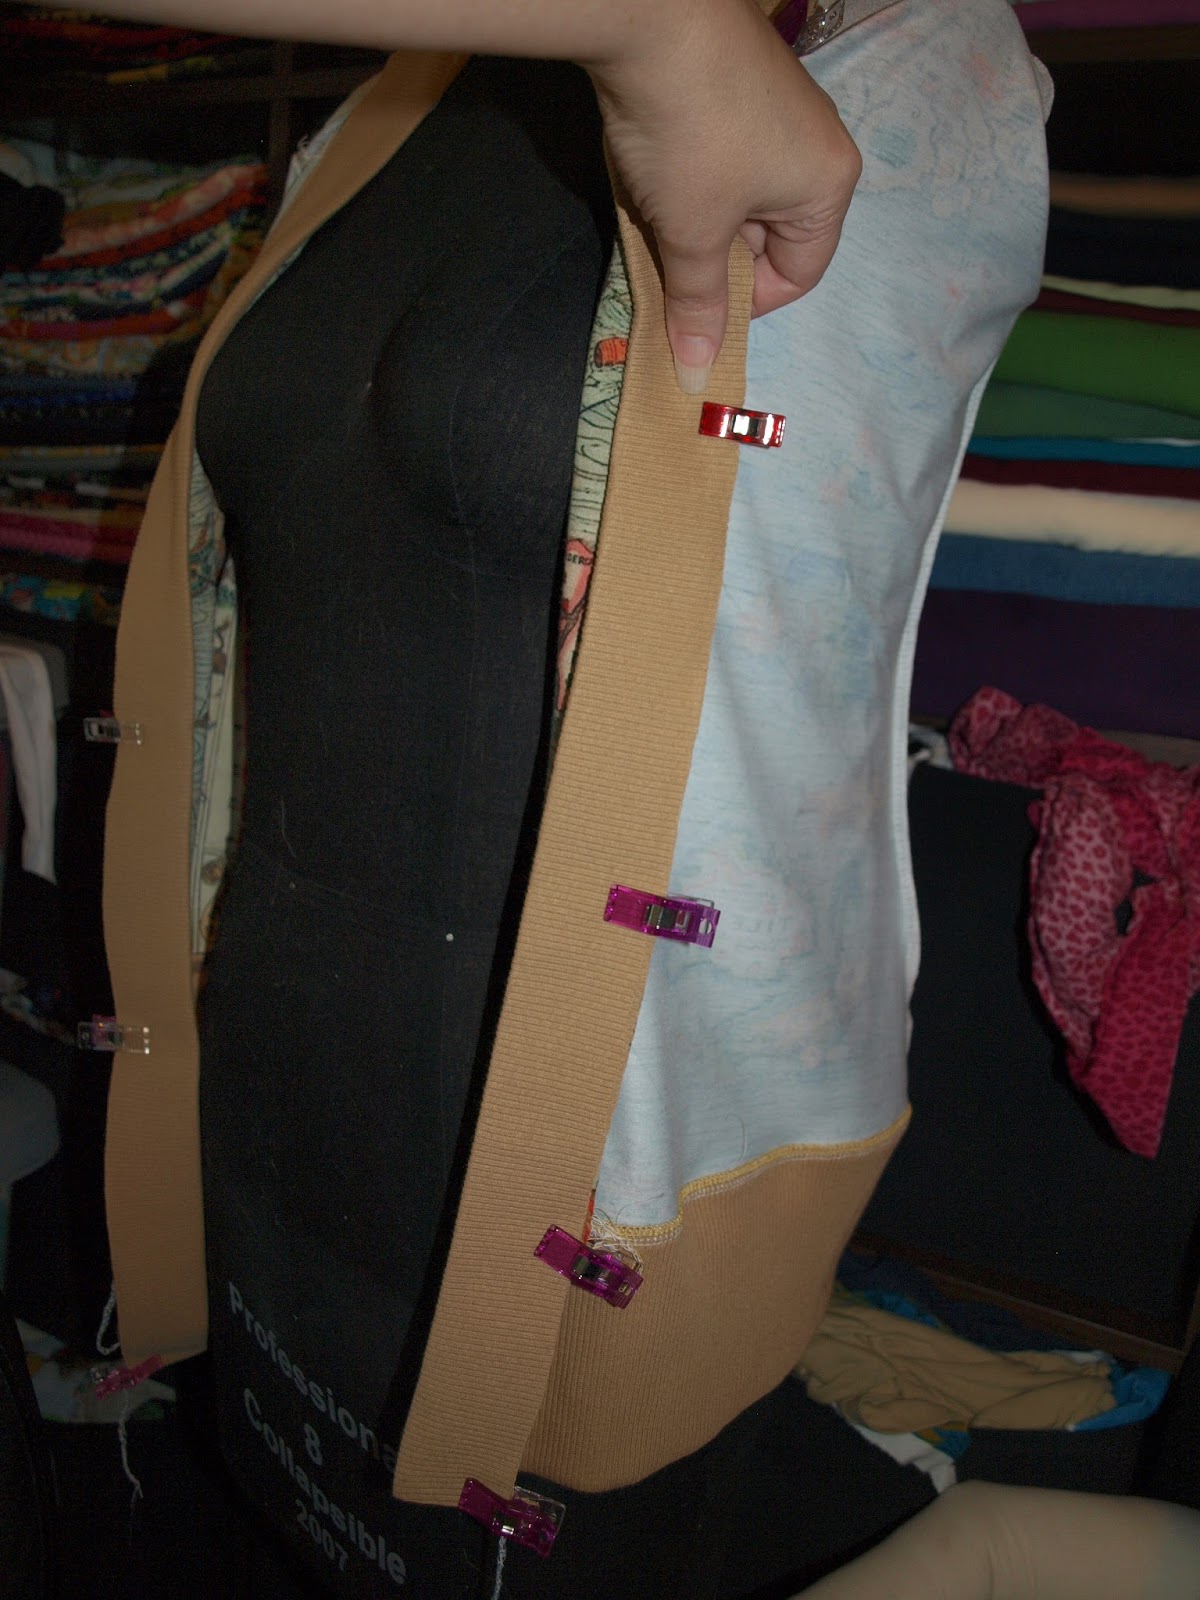
Now pin or clip the band to the body. You should match the marks up for the v neck and the shoulder seams. The ends should be flush with the bottom of the waist band. You will not need to stretch the band as you go.
The red clip my my thumb was the one I had to mark the v-neck on the cardi. I just had it on my dress form to sit for the night as I was calling it a day.
Now sew the band on. I recommend sewing from the seam at the back of the neck down the front to the bottom band. Then doing the other side in the same manner overlapping the stitches at the back of the neck.
If you use a serger, you will want to pull your thread through the seam, tie it in a knot, then clip the tail off.
Now press the seam allowance towards the body and topstitch the seam.
If you are not adding buttons - you are done! Yay!
If you do want to ad buttons, this part is so easy. I know many are intimidated by buttons and button holes, but really the sewing machine does all the work.
First - take a scrap of your fabric you used for the band and do a trial run. In my case, I was using a rib knit and had some issues with it feeding properly through my machine. The ribs of the rib knit kept getting bunched up and wouldn't feed smoothly. I then placed a strip of water solvable interfacing under it and it worked perfectly. You could also use a tear away stabilizer, tissue paper, or a coffee filter.
So here are my ugly trial runs with my final good one on the right.
This is the back side with the water solvable stabilizer still attached. On my cardi, I will just pull this off and any little pieces that remain will dissolve and disappear when I wash it.
I always determine how many buttons I want, in this case I had 6, and measure the distance I want to cover (take about an inch off the total distance for the bottom since you will not want a button hole right on the end). I then divide the distance by 1 less than the number of buttons to get the distance between the buttons. For example. If the distance is 15" and I have 6 buttons, I divide 15 by 5 to get 3. I will place a button/buttonhole every 3 inches. I tend to mark the bottom of where I want my button hole since my machine sews the buttonhole beginning at the botttom. I measure 3 inches from the mark of my first buttonhole marker to mark the location of the next buttonhole.
Here is a video of my machine sewing a buttonhole for me. Super easy!
After the buttonholes are all done, it's time to open them up. I just insert my seam ripper into the bottom of the opening and slowly push it to the top stopping just before I get to the top.
Now I need to mark where to put my buttons. You could do the buttons the same as buttonholes, but I prefer to overlap the pieces to make sure I have everything lined up (like the band at the seam with the body). I then use a pen to mark through the button hole to the band below. I like to mark roughly where the center of the buttonhole is.
Then I sew my button right on top of that mark. You can do this by hand or let your machine do all the hard work.
My machine installing a button for me.
Day 5 - Catch up Day
There was a lot to do yesterday. Use today to finish up, if you didn't get it all done.
Day 6- Photos
Take some photos and share your creation.
Here is mine - buttoned up.
Back view
Unbuttoned
And just holding it at the top button. Sometimes I like to button just this one.
Day 7 - Prizes
Prizes will be awarded for those participating in the Facebook group.
Thank you to everyone that participates. Please let me know if you have questions or need some additional guidance. You can always find me on my Facebook page www.facebook.com/capturecraftcook