I've had a coat on my sewing bucket list for quite awhile now. When Kristi of
George + Ginger put out a tester call for a cost pattern for her
winter collection, it was just the push I needed to check it off my bucket list. This is
The Cold Snap Coat!
What you see here is version 1 of the
Cold Snap Coat. In testing, I just couldn't let this go to the recycle bin, so I made a minor modification and finished it.
I made this one out of upholstery fabric and did 3/4 length sleeves.
I absolutely love this coat! The
Cold Snap Coat has single welt pockets. I was so glad that I finished this initial version so that I could get in some welt pocket practice. My welt pockets on this one are not perfect, but I learned from my mistakes.
I love this collar. There are two collar options small and large. This is the small collar.
Here is the final version of the
Cold Snap Coat! For thoses that know me, you are probably in shock that I made a pink coat. I typically stay as far away from any shade of pink that I can.
I bought this fabric who know when. I can't remember buying it, but I've had it many years. It's a tan khaki with a mauve flocked velvet lace like print.
I think it made the perfect
Cold Snap Coat. It's not too heavy, but just enough to block the chill. I am in Texas after all and it doesn't get very cold too often.
There are 4 pleats on the
Cold Snap Coat. There are two in the back and two in front. The coat is designed to be roomy enough to wear over a thick sweater.
The coat is completely lined and if you make it nice and neat, you can make it reversible.
I love the big pockets!
I'm seriously impressed that I made a coat - much less more than one!
Here's what the
Cold Snap Coat looks like if worn open and unbuttoned. It still looks great. I find it important for a coat to look great worn opened or closed. That's probably because the majority of the time, I don't bother buttoning my coats.
And here is my
Cold Snap Coat worn inside out!
This lining is very dear to me. I bought it in 2008 in Dayton Ohio when I was at Wright Patterson Air Force Base for 2 weeks for training. I bought 3 yards of this cotton voile.
I've passed over this voile many times for projects worried if I would love the item enough as I just adore this fabric. I love paisley designs and this print has some of my favorite colors - even though it does contain pink.
I decided it looked great with the outer fabric and that as a coat, it was sure to be worn on a near daily basis this fall and winter. So I'll be able to see it and enjoy it while I wear it. I do doubt I'll wear my
Cold Snap Coat this way much. But it does look cute - especially when I fold the sleeves up to make cuffs that match the collar.
And yes, my collar is a bit of a mess. I was outside when I reversed my coat and had no idea I did not get my collar perfectly straight for photos.
The
Cold Snap Coat can also be made with stable knits. When my grandmother passed away, I raided her fabric stash. I brought home some of her double knits with the intention of using them for coats as they are hefty and polyester can be warm.
I gave this
Cold Snap Coat to my mom. She loved it and told me she had a pantsuit made with this double knit when she was in highschool!
The inside is a tomato red double knit and can be worn reversed. I did get photos, but this shade of red was difficult to photograph and looked very strange. The buttons I picked match the lining perfectly. I wanted to show in the photo below the cool pattern of the double knit. It's a very light grey - almost white, with a striped background of red, green, brown, and blue.
At the last minute, I was able to make the
December Dress that is also part of the
Winter Collection.
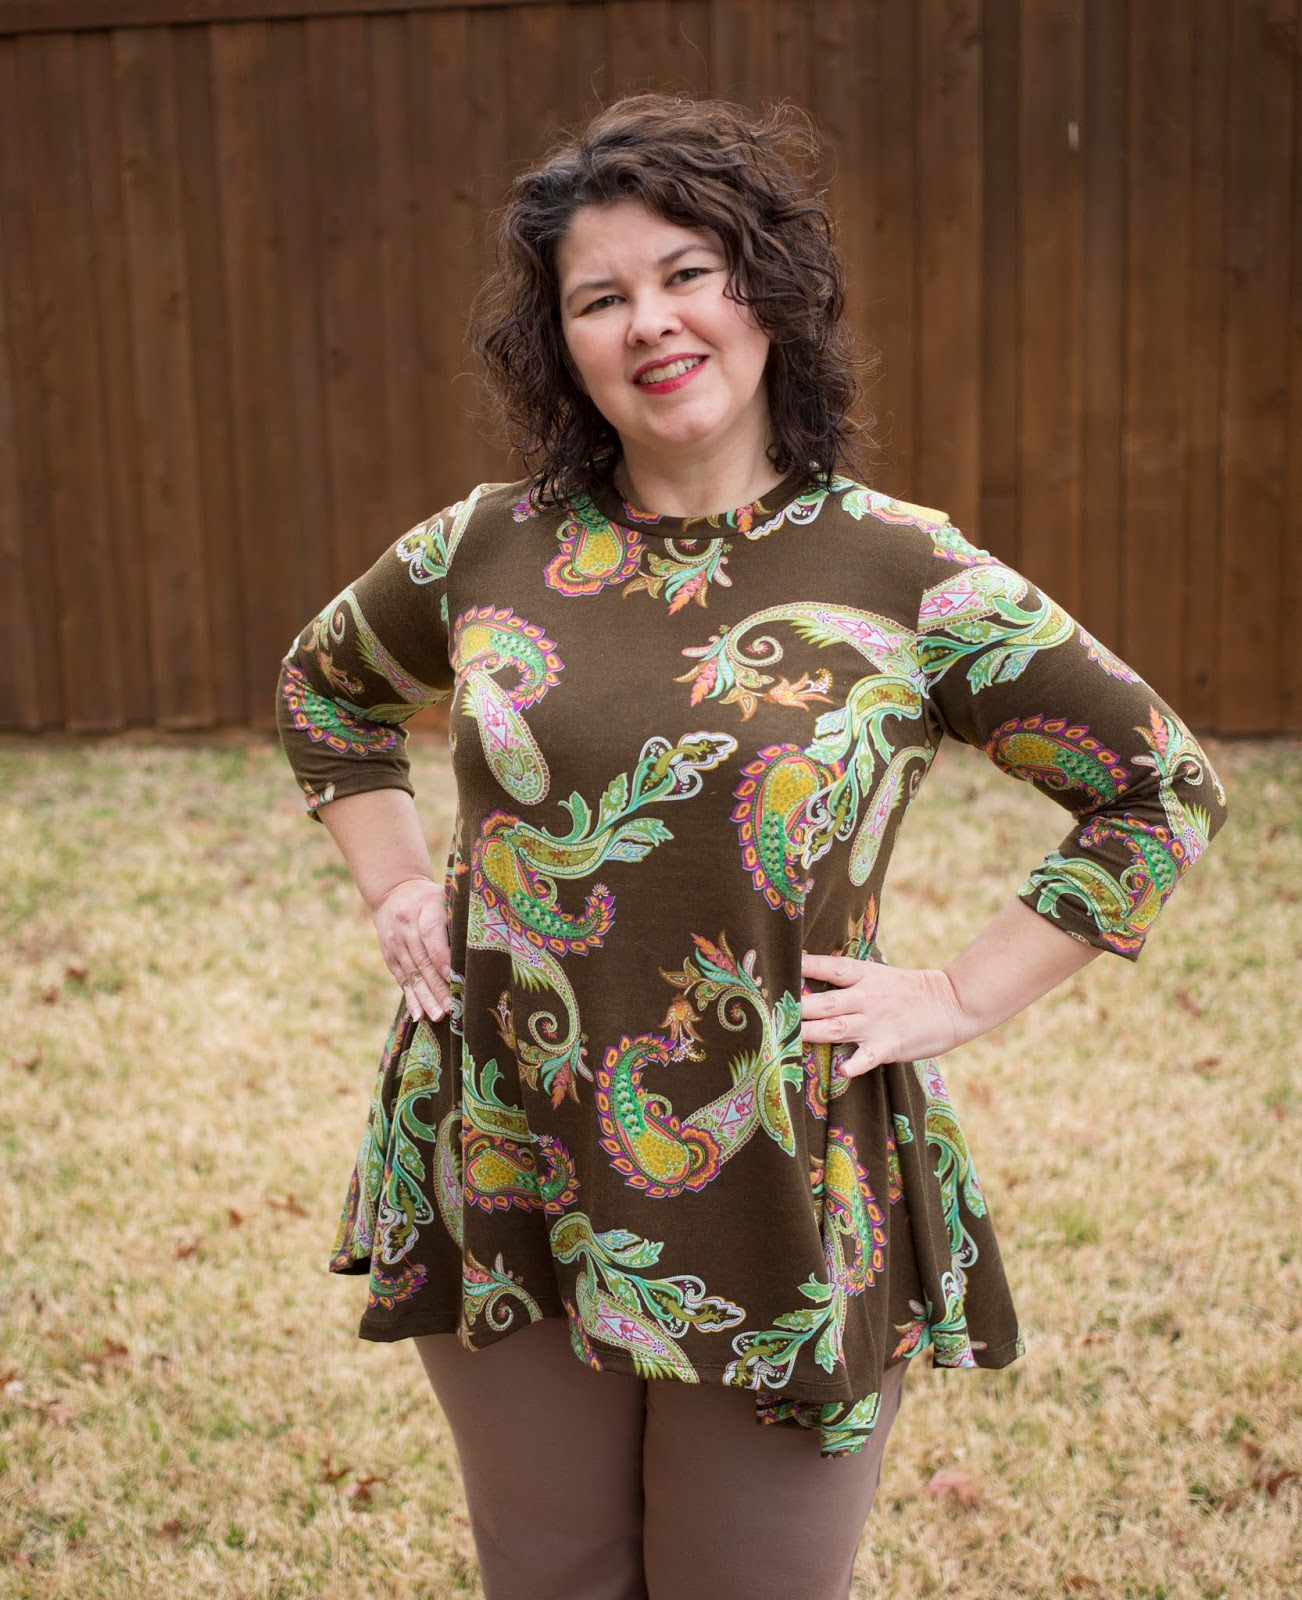
As you can see my
December Dress is not a dress at all - it has a tunic version!
I'll admit, I was a bit unsure if I even wanted to try the
December Dress. The main feature of the
December Dress is the drop pockets which add a bit of volume at the hips.
I decided to step out of my comfort zone and just make it! I was surprised that I actually loved it. The
December Dress is so comfortable on. When I did these photos, I had not intended to wear the
December Dress the rest of the day, but I did.
My husband even commented on how much he liked it. So I'll consider the
December Dress a winner.
See the entire
Winter Collection HERE! Get 25% off sitewide with the code YEARTHREE through Sunday (12/9).
Follow me on
Instagram and
Facebook!
Disclosure: This post may contain affiliate links. These links provide me with a small compensation if you make a purchase using my link. There is not cost to you when you do this. My thoughts and opinions given in this blog post are mine.