I used a winter sweater strike off from PNW Fabrics for the bodice and a solid dark blue I bought from the Dallas Fabric District for the rest. You can purchase PNW fabrics HERE.
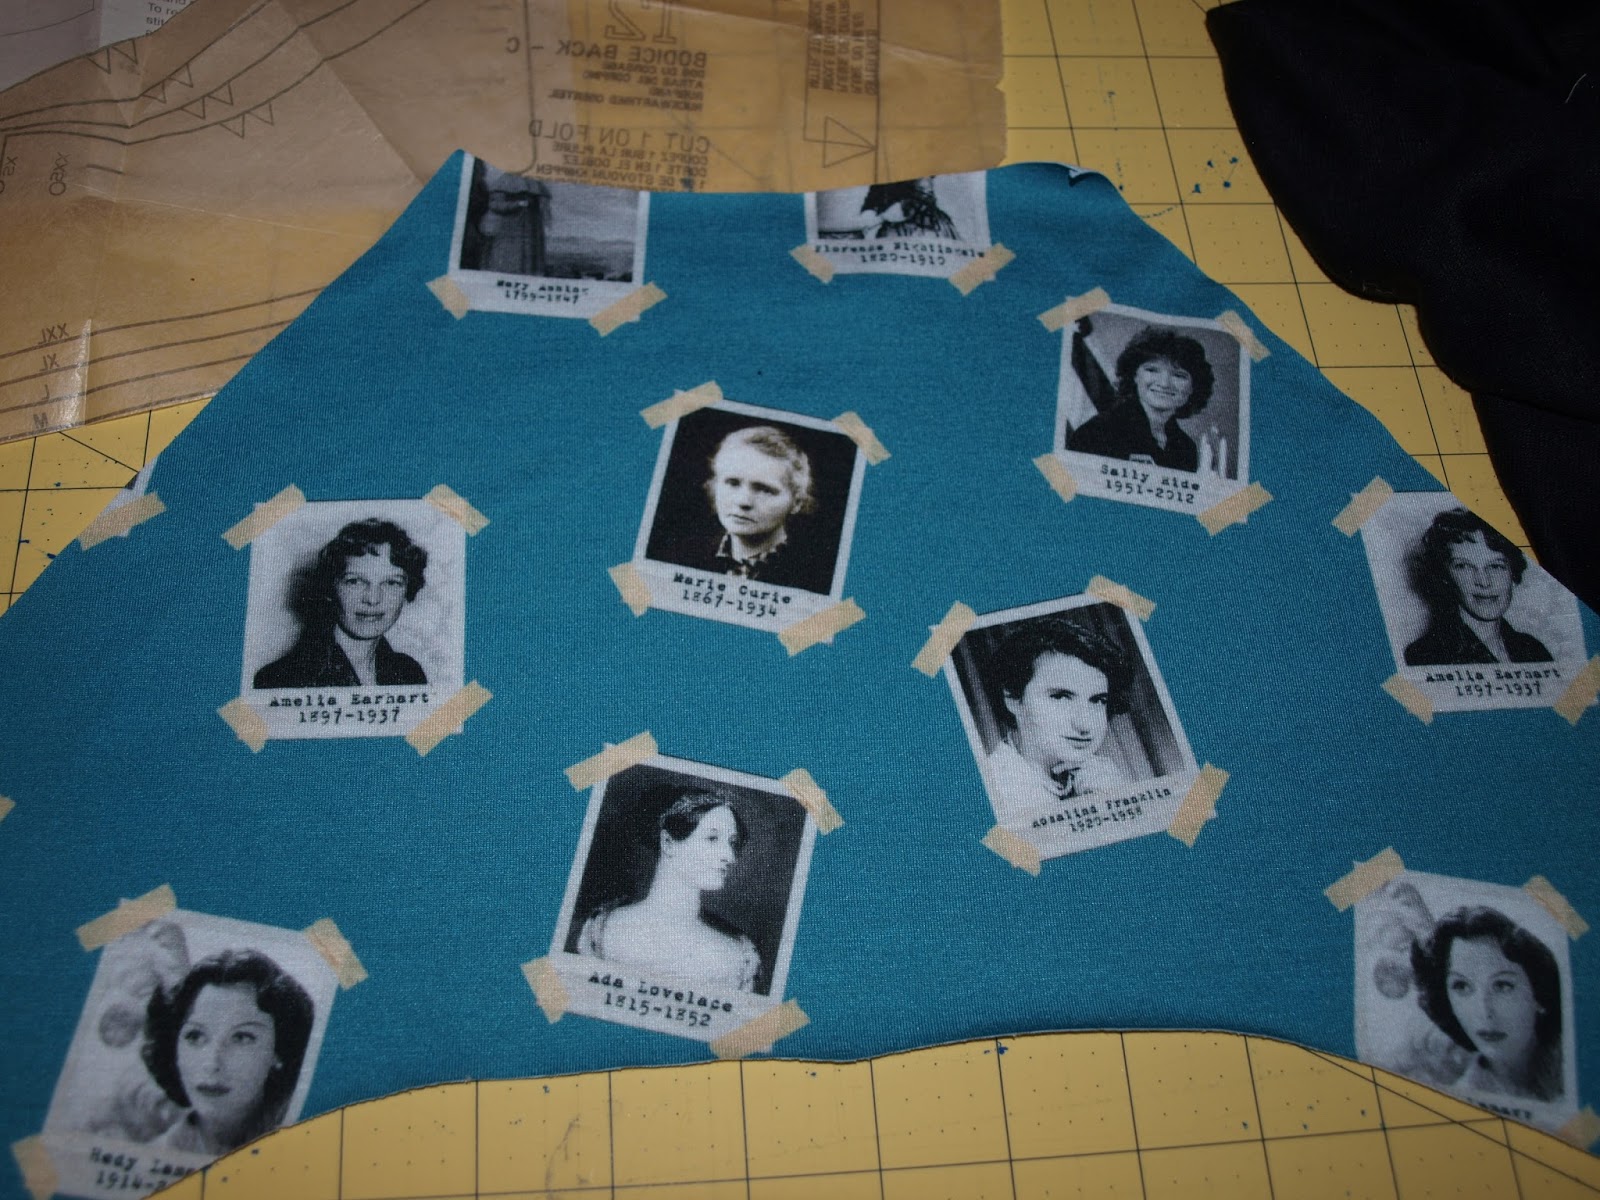
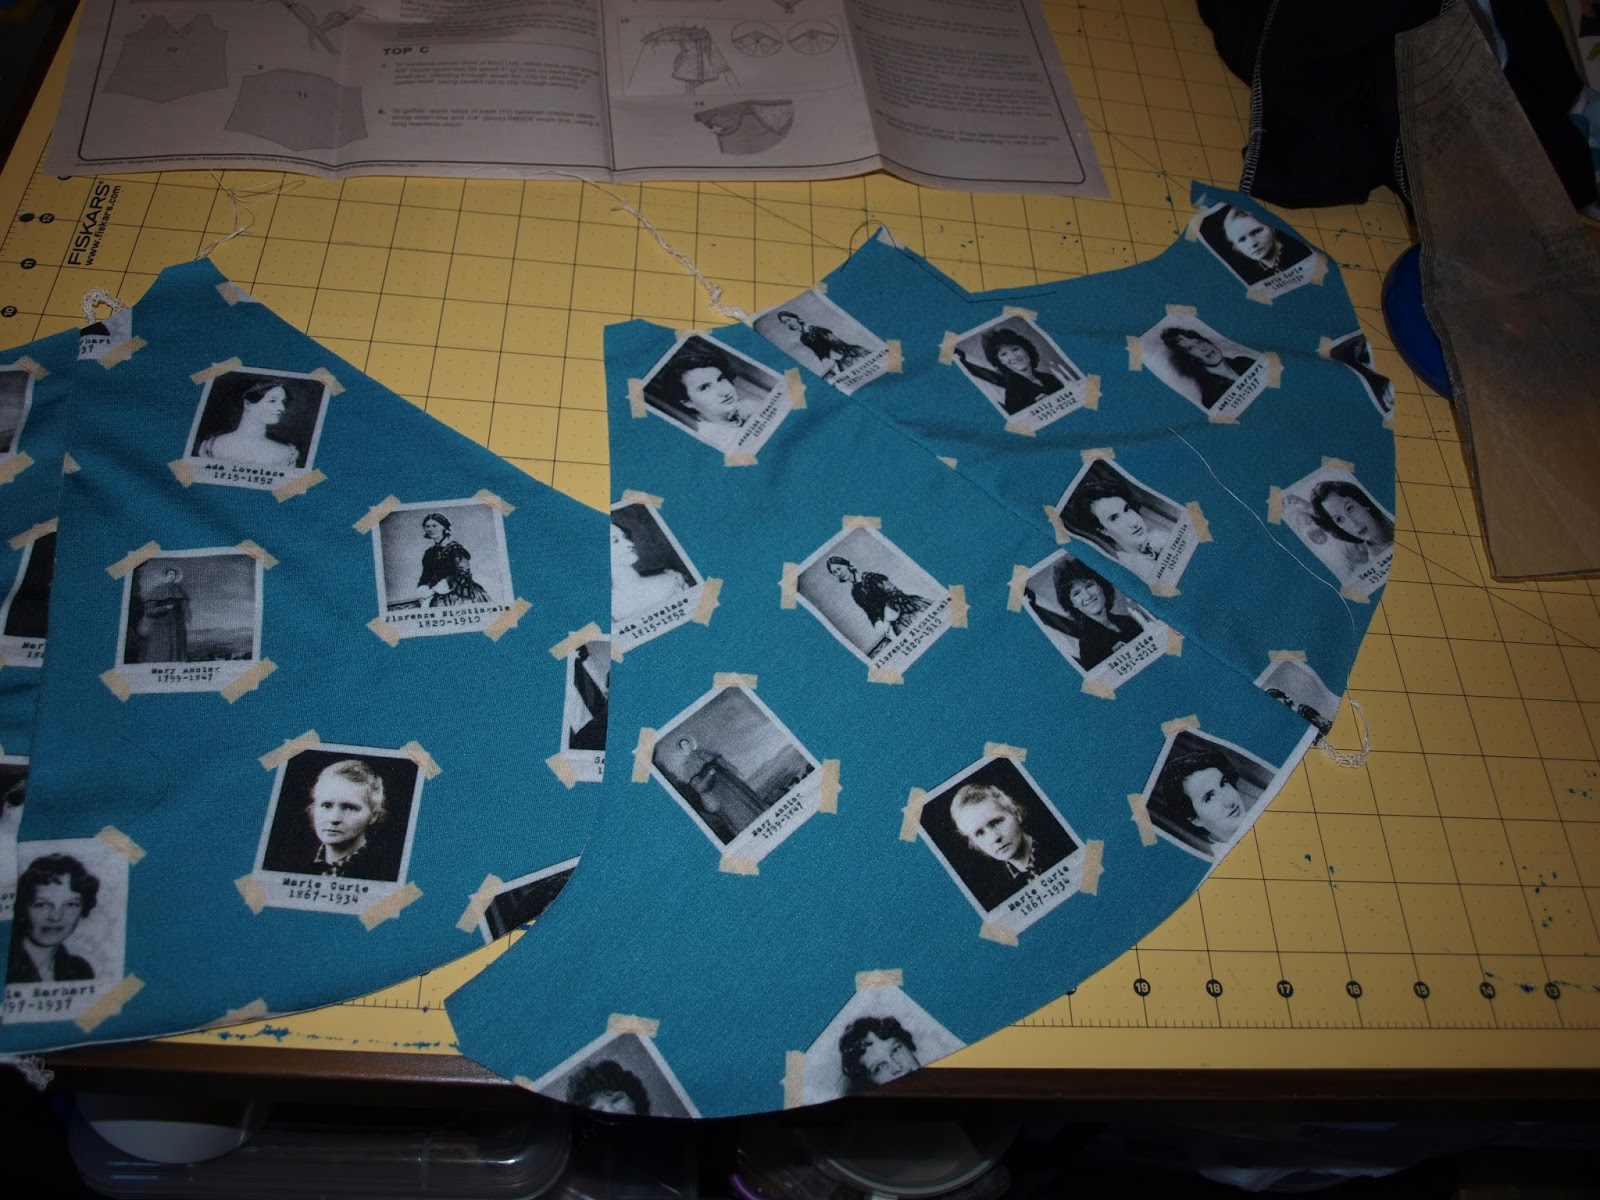
Here are all my pieces cut out.

Here is the pattern cover page. It has a cowl neck, but for this top I decided to do a banded neck.

First the bodice front and back are sewn together at the shoulders and sides. I cut the front neckline higher than the pattern.

To do the neck band, I used a measuring tape to measure the length around my neckline. I then multiplied that number by 0.8 to get the length needed for the band. I cut my band 2" wide and by the length I calculated. I then sewed the ends together.

Then I pinned the band to the neck evenly all around.

I then serged it on.

Then I topstitched the seam down with my coverstitch.

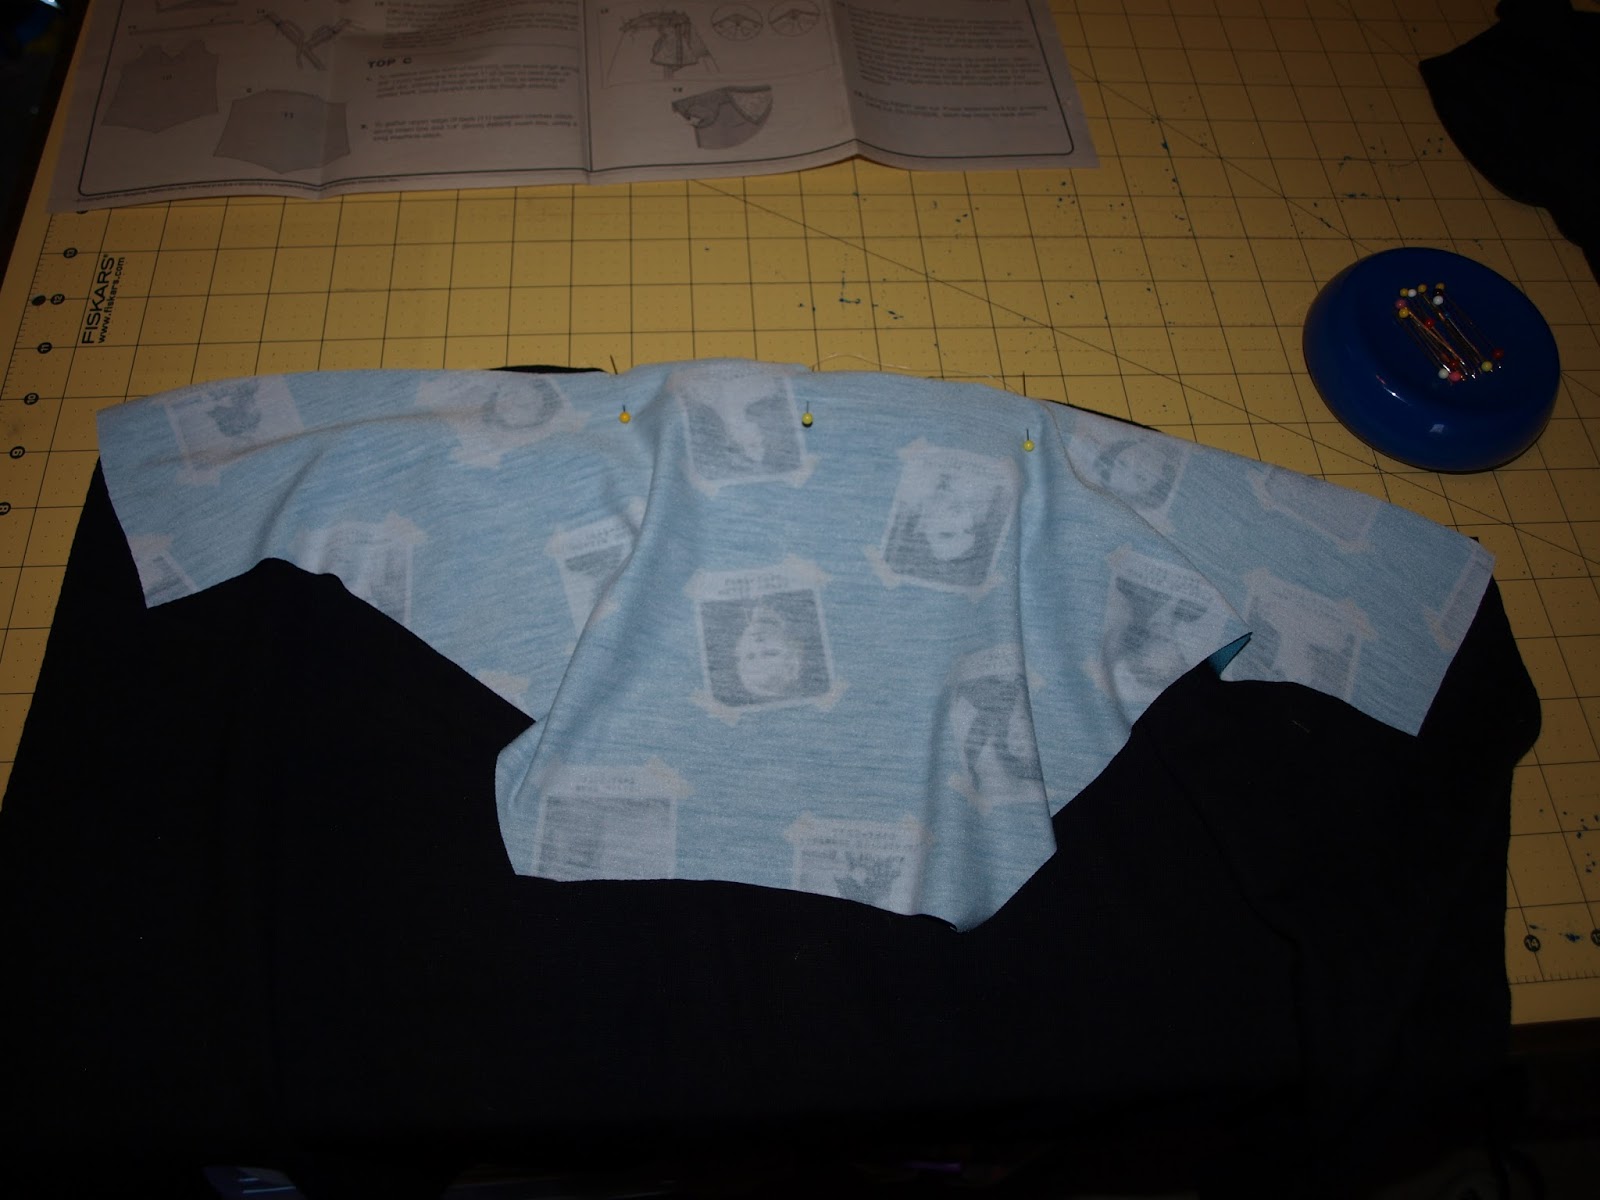
Then I sewed the seam of the sleeves.

I then turned the bodice inside out and placed the sleeves inside right side out and pinned them in place.

Then I serged them on.

Now for the skirt. I did the tunic length and I did the pleats in the front and the back. Here I am marking my pleats.

Pleats are marked.

Pleats are folded and pinned into place.

The pleats are then sewn down with a long straight stitch.

The font and back of the skirt are sewn together at the sides. Then the skirt is pinned to the bodice and serged on. I then hemmed the skirt with my coverstitch and I added a band to the sleeves.

Here is my finished Laurel tunic.


If you enjoyed my blog, like my Facebook page to get notifications of new blog posts.
Thanks!