Greenstyle Creations Cavallo Leggings

I really thought I had enough workout leggings. I mean - there are only 7 days in the week and I do laundry every week. Did I really *need* to make more leggings? This was something I thought about at the beginning of the year as I faced my wall of fabric. The fact is, I have neglected making solid colored leggings. I have 2 pairs that I can think of - one pair black one a royal blue. The black pair is never worn for working out as they are my nice pair that I wear on a rare occasion to work with long tunics. I normally find my self wearing two different prints, one on my legs and one on my top. I told myself that I needed to bust into my stash of solid colored supplex from Zenith & Quasar and make some more wearable pieces. When I saw the tester call for the Greenstyle Creations Cavallo Leggings, I knew this was the perfect opportunity.


Normally I'd be hiding my chunky thighs and bloated belly under my top, but wanted to show off the amazing high rise on the Cavallo Leggings. I used the Ocean Supplex from Zenith & Quasar and this color is absolutely gorgeous.


What immediately got my attention was that these leggings have no inseam! As part of my at home physical therapy, I do some exercises squeezing a ball between my legs. I can't tell you how many times the inseam on a pair of leggings irritated my skin or simply caused pain. Those kinds of exercises will feel so much better in the Cavallo Leggings.


The Cavallo Leggings also have two pocket options! This is the scoop pocket (I think that's what is is called). The placement is great and also had options for finishing the pocket opening. I did a binding on mine.


The Cavallo Leggings also have colorblocking with shaping on the booty. It's similar to what the Stride Tights have and I find it so flattering on. I should also mention that I constructed these with a serger. I did not use my coverstitch on the seams. I normally would, but I was not mentally up for the processes of trying to feed the leg through the coverstitch and not accidentally sew the leg together. Because  yes, I have been that person to do that. Seam ripping coverstitching is not fun.


In testing, you never make just one of anything. To check fit you should always do a fit garment often called a muslin or toile. For my fit version, I used Purple Pizazz Space Dyed Supplex from Zenith & Quasar.  I love fabrics like this in place of solids. They work well as a solid and don't clash with prints.


Plus, I figured this would show off the side panel better than a solid since I turned my fabric sideways for the panel.


 This supplex is so stretchy and comfy. I have been dying to wear them for a full day. But it's "Me Made May" and I hate keeping secrets.


 Seriously - the high rise is amazing! There is a lower rise as well, but I'm all about the high rise to keep everything covered and smoothed out.


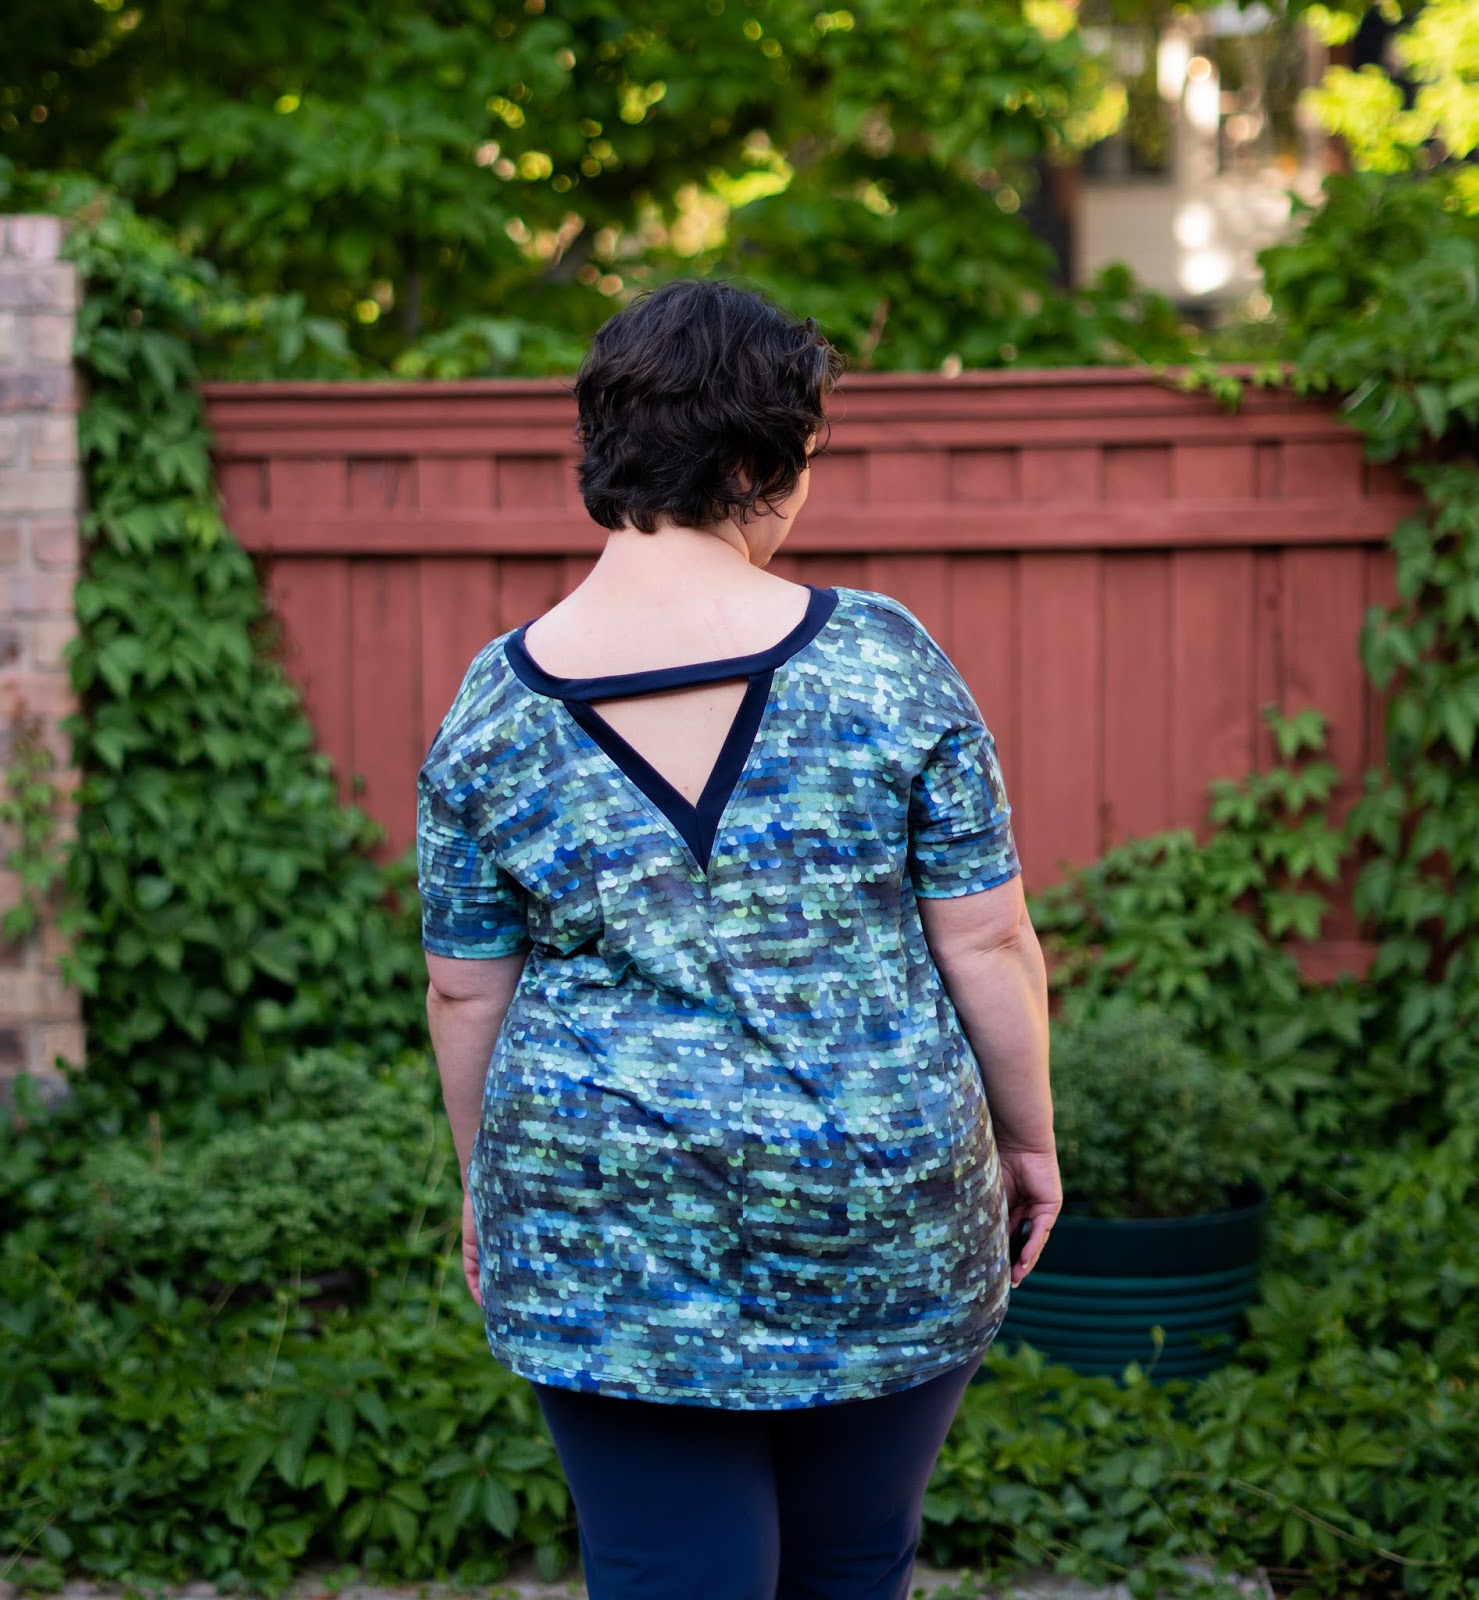
My top is a RTW I found at Sam's Club a few years ago. I normally would not wear a fitted top with leggings, but all the tank tops that I love were dirty when I decided to take photos. I could have worn my floral whale one above, but didn't want to wear the same top with both leggings.


 There's a few other things you should know about the Cavallo Leggings. These leggings have options to make them bona fide horse riding pants complete with stretch suede patches at the inner knee. I have no plans to get on a horse anytime soon so I didn't even bother trying that option out. The pattern also include a pocket option that is lower with easy access to your phone when riding a horse. When standing, you would really need to reach down to get into the pocket. I hear that pocket option is also great for bike riders.

The pattern is on sale for $10 for a limited time.

Follow me on Instagram and Facebook!

Disclosure: This post may contain affiliate links. These links provide me with a small compensation if you make a purchase using my link. There is not cost to you when you do this. My thoughts and opinions given in this blog post are mine.

Ellie & Mac Blog Post!

I'm on the Ellie & Mac Blog talking about this hack.

https://www.ellieandmac.com/blogs/blog/flare-out-discovery-tee-hack?aff=675


Follow me on Instagram and Facebook!

Disclosure: This post may contain affiliate links. These links provide me with a small compensation if you make a purchase using my link. There is not cost to you when you do this. My thoughts and opinions given in this blog post are mine.

George + Ginger SoTa for my Mom

My mom's birthday was in March. I wasn't able to see her, but I still made her a few new tops and mailed them to her for her birthday. She's always commented on how cute my George + Ginger SoTa Tunics were that I decided to make her one.


My mom loves anything tie dye! I looked through my tie dye stash and found two remnants from Sincerely Rylee that I decided to use together. I was a  little apprehensive about my fabric choices as I cut the pieces out, but absolutely LOVE the finished piece. I almost kept this all to myself.


The godets on the SoTa are so fun! The blue tie dye has tiny bits of pink and coral that I thought would pair nicely with the pink/coral tie dye.


I tried my best to match the pattern all the way around the top and I think I did a pretty darn good job.


I almost ran out of fabric. Well, really I did. I had intended to make the sleeves a tiny bit longer, but ended up with elbow length. I cut all the body pieces and had to do some major pattern piece tetris to get everything on the grain (or close to it).


I had intentions of making this blog post on my mother's birthday, but pandemic mask sewing took over my life and things are finally getting back to normal.

Follow me on Instagram and Facebook!

Disclosure: This post may contain affiliate links. These links provide me with a small compensation if you make a purchase using my link. There is not cost to you when you do this. My thoughts and opinions given in this blog post are mine.

Sinclair Patterns Rio Tank & Dress

When I saw the tester call for a new pattern from Sinclair Patterns, I immediately signed up. I am getting burned out on sewing masks and this was just the sewing diversion that I needed. This is the Rio Knit Tank Top & Dress.


The Rio is an easy sew, but the instructions are written for a beginner sewist with only a sewing machine in mind. So the steps in the pattern may seem a bit tedious to a sewist with advanced machines at her disposal like a serger and a cover stitch.


The Rio features a binding to finish the neckline and armholes. The method for the binding gives a very nice finish with no raw edges. The instructions are detailed to allow that sewist with only a sewing machine to get a fantastic result. It does have extra steps, like hand basting that most experienced sewists would skip.


Curved hems are the nemesis of most beginner sewists and the Rio hem is finished with a facing. If you look toward my booty in the photo below, you can see the purple facing peeking out. The pattern states to use a low recovery knit for the binding and facing. I used a rib knit with spandex and it worked out perfectly. The main fabric is athletic brushed poly from Zenith & Quasar.


I have done a lot of hem facings before, but this one was different. Most hem facings I have done are shaped. The Rio has a straight length of knit that you use for the facing. The Rio instructions also have you fold under the top edge of the facing and then topstitching to give a clean finish with no raw edge. Experienced sewists with a coverstitch are likely to just leave the hem facing raw and to coverstitch over it.


Of course in testing I made more than one Rio. The one above was my "final" and the one below was my "fit" garment". I'm wearing the Sunset Lounge Pants in the photos below.


This Rio was made with a poly spandex scrap from my stash that was silky on one side and brushed on the other. I used scraps of a flat euro ribbing from Bow Button Fabrics for the binding and hem facing.


I made this one by my measurements and Oxana, the designer, informed me that my booty needed more room and to add width to the back piece on my final. I did and my final fit so good!


With the Corona Virus Pandemic there have been many people buying sewing machines and learning to sew for the first time to make cloth masks. Maybe, just maybe a few of those people will decide to expand their hobby. The Rio is the perfect pattern to introduce them to knit and teach them a bunch of new skills. If they follow the instructions to a t, they will end up with a well made garment they can be proud of.

Follow me on Instagram and Facebook!

Disclosure: This post may contain affiliate links. These links provide me with a small compensation if you make a purchase using my link. There is not cost to you when you do this. My thoughts and opinions given in this blog post are mine.

5 out of 4 Journey Top & Dress

If you read my last blog post, you know that I spent my birthday doing some selfish sewing. The Ocean Round is currently open at Zenith & Quasar and I was sent two prints to sew up. When the Ocean round was initially announced and the prints previewed, I asked Lilly to order 3 yards of the Electric Jellyfish and I'd pay for them in advance so that I could make a dress with it. Well, the printer failed to print my three yards. For now I have one and decided to make a new workout top.


Since I have been working from home full time during the pandemic, I am making a point to go for a walk everyday at lunch, and then again when I get off work. Most of my workout tanks have a high neckline and I'm getting quite the tan line from them. I need some workout tops that show a bit more skin. I am wearing Purple Cactus Flower Tactel pants in these photos and now think I need leggings to match my new top.


As I looked through my pattern vault, my eyes came upon the 5 out of 4 Journey Tank & Dress. I bought this pattern years ago and have never made it. I told myself at the beginning of the year that I needed to make an effort to sew up all those patterns that I have bought and hoarded over the years. This seemed like the perfect opportunity to finally make the Journey Tank.


I absolutely love how my Journey Tank came out! One little thing that I am not 100% happy with is the front rouching. I don't think I got mine rouched as much as I was supposed to. On my next one, I plan to mark the center front with chalk to make my life a little easier. I also need to find out what length the 1/4" elastic is intended to be. I couldn't find it in the pattern  - I probably overlooked it. I used a piece that was 6" that was precut for ear loops for masks. I'm thinking I probably need the rouched section to be 4.5 inches.


I made a tiny change to the pattern. When  I was cutting the skirt portion, I decided to use the full width of my yard of fabric for the hemline. I know I have a lot of booty and wanted to make sure it had plenty of room. So most of the extra width went to the back skirt, and about 2" extra went to the front. I gathered both skirts in the middle section before adding them to the bodice. Plus, I wanted as many Jellyfish as I could get on my outfit. I'm slightly Jellyfish obsessed.


The bodice is fully lined with black supplex and I used the black supplex for the bands. I also attempted to make my own foam cups for the bodice. I go through so many foam cups making items for summer wear that I thought it might be cheaper if I bought bra foam and made my own. Well, the process to make them is fairly simple. However, getting them the right shape is not! The first ones I made were not usable - they came  out too pointy. These came out too flat, but were at least usable. I'm hoping to get a perfect pattern for them drafted soon. I'm itching to start making some bras and bralettes.


The Journey Top & Dress has a few different options for the ties. I thought I would do the double twist. I think that strap on the left got twisted in the process. I might have to get my seam ripper out to fix it. I might just do simple crossed straps on my next one.


Here's a look at all the designs available in the Ocean Round. I love them all. All prints are available on Athletic Brushed Poly, Yoga Swim Spandex, and Stretch Woven Board short. The preorder closes on  May 15th!

No photo description available.


Follow me on Instagram and Facebook!

Disclosure: This post may contain affiliate links. These links provide me with a small compensation if you make a purchase using my link. There is not cost to you when you do this. My thoughts and opinions given in this blog post are mine.

Zenith & Quasar Round 41 Ocean

Yesterday was my birthday and since we are in the middle of a pandemic, there was no party and no going out to eat a birthday meal. I was happy to spend the day in my sewing room making myself something instead of sewing masks. I just received two beautiful prints from Zenith  & Quasar for the Ocean Round and was able to make myself two new tops. Here is the first one.


This print is the Sequin Scales. It is absolutely gorgeous and photos just do not do it justice. The sequin effect is very realistic with beautiful shading of colors. I'm hoping Lilly will run a few more color variations because I definitely need more.


I sewed up the super soft athletic brushed poly. This round is also available on Yoga Swim Spandex (YSS) and a stretch woven board short. I think I need these Sequin Scales on YSS for leggings.


Since it was my Birthday, I felt a bit extra and decided to make the Greenstyle Studio to Street (STS) Top with the V-neck front and the V-back. I was a little intimidated by the v-back construction, but love the finished product. I'll definitely be making more. I did the normal v-back , but there's also a deep v-back as well.


I used the Supplex 2.0 Navy for the bands on my STS top. Supplex is my favorite for bands. It has great stretch & recovery, never fade or wears out. My pants are also made out  of Supplex, but are the older navy that was offered previously. There are so many shaded of blue & green  in this print that matching a solid to it is easy.


The Studio to Street is one of my favorite patterns. I can make one with  just a yard of fabric. The relaxed fit is so comfortable. It also has so many options. I love the short sleeve version with the high low hem and the v-neck front. I normally do a crew neck back, but will make a few more v-back versions. You can also do a front crew neck as well. One thing I will skip on my neck v-back is the top-stitching after adding the bands. I didn't top stitch anywhere else, so that looks odd to me.


The Ocean Round at Zenith & Quasar will close on May 15th! Below are the other beautiful designs available.

No photo description available.


Follow me on Instagram and Facebook!

Disclosure: This post may contain affiliate links. These links provide me with a small compensation if you make a purchase using my link. There is not cost to you when you do this. My thoughts and opinions given in this blog post are mine.