But the pattern HERE. It's on sale through October 15th with the code "SAVE50".
For my fabric, I used some ITY (interlock twisted yard) knit I bought in the Dallas Fabric District for $4/yard about 2 years ago. I loved the colors and the border print and just never found the right pattern for it. This swing dress ended up being perfect for it.
Here are all my pieces cut out.
This pattern calls to line the bodice - and you can line the entire dress. The first step is to sew the pleats into the front and the lining. This caused a lot of bulk with the lining also being pleated. The final pattern calls for an un-pleated lining to reduce the bulk.
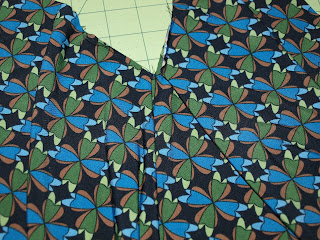
Here is a closeup of the top pleated.
Then they were folded and ironed in half again.
Then I edge stitched the straps.
Then the straps were laid in place (sticking up about a half inch on the bodice) and the lining laid on top of the dress. I just lined the bodice on my dress. I then pinned everything together. Then it was sewn together from side to side. Just basting stitches are uses where the straps are.
Then the back piece and lining were sewn together - minus the top of the back - so the straps can be added later. I serged these together.
And I can't find my photos of how the straps were added to the back. You put the front inside the back piece and put the straps through and sew the opening in the photo above closed. Then try it on and see if the straps need to be adjusted.
Then it's time to sew the sides together. The lining is pulled up and you sew the sides together of the lining and the dress.
Then I topstitched the bodice. The tester version shown had a pleated lining and it caused quite a bit of bulk as you can see in this photo. The final version of the pattern has a straight lining without pleats.
The last step was to hem it. And I was done.
Here I am in my finished swing dress. I did have a few problems with my tester version, but all the problems are fixed in the final version. I'm looking forward to making one in a woven for next summer. I'll be using this one as a swimsuit coverup.
In the tester the arm holes and the back were too low. Shortening the straps only made the v-neck too high and did not really fix the problem. The final pattern raised the armholes by 2 inches.
I also made my version longer than the pattern called. I don't like to show much of my legs above the knee.
I would encourage you to see some of the other tester photos. Some ladies kept the length short and wore theirs with leggings and a cardigan for a cute fall look.
If you enjoyed my blog post, like my Facebook page to get notice of new blog posts.
Thanks!


I want to put my hand up your dress
ReplyDelete