I tested the Savannah Shirt and Dress and made the shirt version. This is a a simple yet stylish collarless shirt with a curved hemline and a lower back. It has an option to add a knit band to the neck and wrist, but I chose the bias tape for the neck and did not put a band on my sleeves. You can also add a pocket, but my fabric is pretty wild and I thought a pocket would have looked strange.
My fabric is a Tina Givens for Free Spirit Design called Royal Parrot from the Pernilla's Journey line.

Here is the cover art for the pattern showing the dress.

Here are all my pieces cut out and ready to go.

The first step was to add interfacing to the front where the buttons would be. I decided to serge the edge first before adding the interfacing.

Then I ironed the fabric and ironed on the strip of interfacing.

Next I folded the front edges to the inside 2 times. The photo below shows just one fold.

Then the pattern directed me to sew the darts at the bust. First I drew them onto the fabric with a blue chalk pencil, then stitched. Then pressed the dart up.

Here is the front with the darts in and the front edges folded.

Next I sewed a basting stitch in the back to gather it so it matched the yoke.

Then I sewed the back to the yoke with the serger.

I then ironed the seam towards the yoke.

Then I used the coverstitch to top stitch it into place.

I love how the coverstitch makes it look so finished. I love little details like this.

Next was to sew the front and back together at the shoulder seams.

Then I ironed the seam towards the yoke.

And topstitched with my coverstitch.

The next step was to add the bias tape to the neck. The instructions for this step were a little confusing. Once I got clarification from the designer, it was easy. But I forgot to take photos of the steps. This is the finished neckline.

Next step was to topstitch the placket.

Then I sewed the side seams using the serger.

Next I hemmed the shirt using the coverstitch.

I just love the curved hem of this top.

I did a double fold before coverstitching - this shirt was a little long (I even made an adjustment before cutting the pattern).

Next I did the button holes. Button holes are so easy to do - the sewing machine does all the work.

I took a video - but I didn't realize I had it set to time lapse, so it goes way too fast.
Then I added my buttons. I let my machine do all the hard work for me. Here is a video. This one was done at normal speed. I run the button program twice. I'd hate to lose a button.
Here are some photos of me in my finished Savannah Shirt.
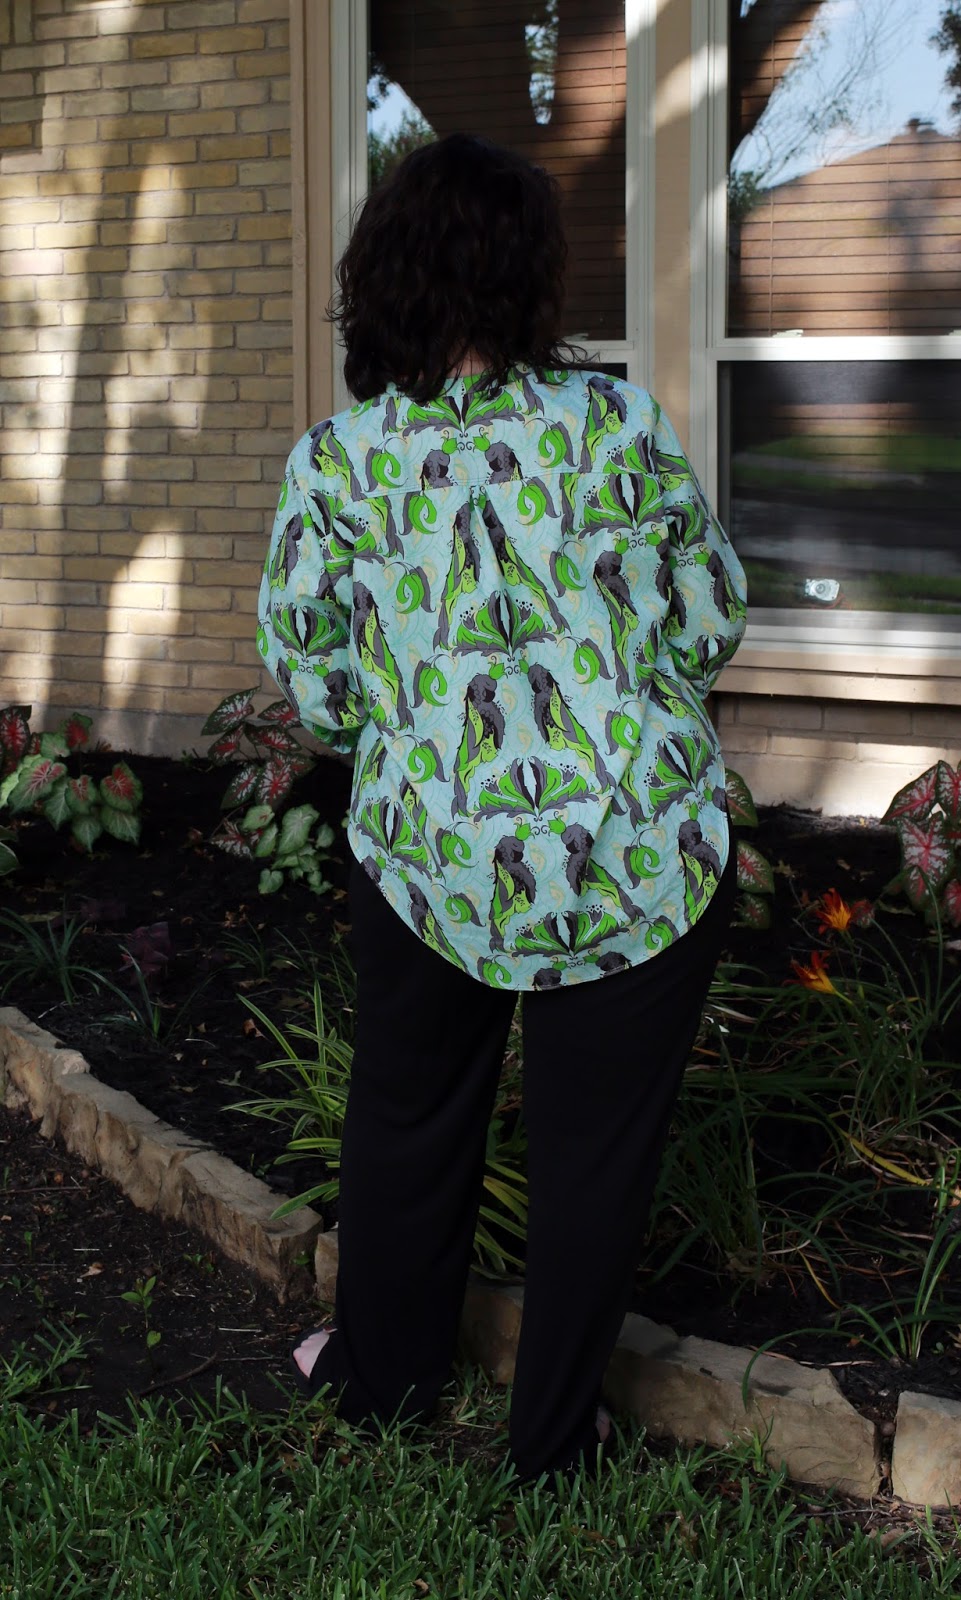
I think the next one I make will have some darts in the back.


I used my coverstitch to finish the hem on the sleeves. The pattern called for a ribbed cuff, but the sleeves were already long on me and I like them like this.

Showing the shoulder detail.

My buttons. I bought these at Joann's. They had all buttons for 40% last week. These were $1.79 for a pack of 4 before the discount. I used 6 buttons.

I love the curved hemline.


No comments:
Post a Comment