This pattern is the Carey Top. It's on sale for $9.60.
It's a super cute and trendy top that is loose fitting and can be worn from Spring through the Fall.
The fabric I used for this top is from Wherehouse Fabrics in the Dallas Fabric District. It was $6/yard and was 60" wide. It's a soft and drapey fabric that I suspect is a rayon blend. I really wish I had bought more. I'm hoping they still have some when I make my next shopping trip.
Here are all my pieces cut out.

The first step was to stay stitch the neckline on the front and the back pieces

Next I had to make the drawstrings for the shoulders. This part did not go as planned. My fabric was slippery and did not want to stay still when I tried to iron it in half and then basically half again. It just wasn't going to happen. So, I decided to use my serger and do a rolled hem down both sides of the drawstring. In the photo below you can see the crease from where I attempted to get them ironed the way they needed to be.

Here are all 4 of my drawstrings.

The next step was to hem the sleeves from the top to 2" from the bottom (underarm). And to hem the shoulder panel.

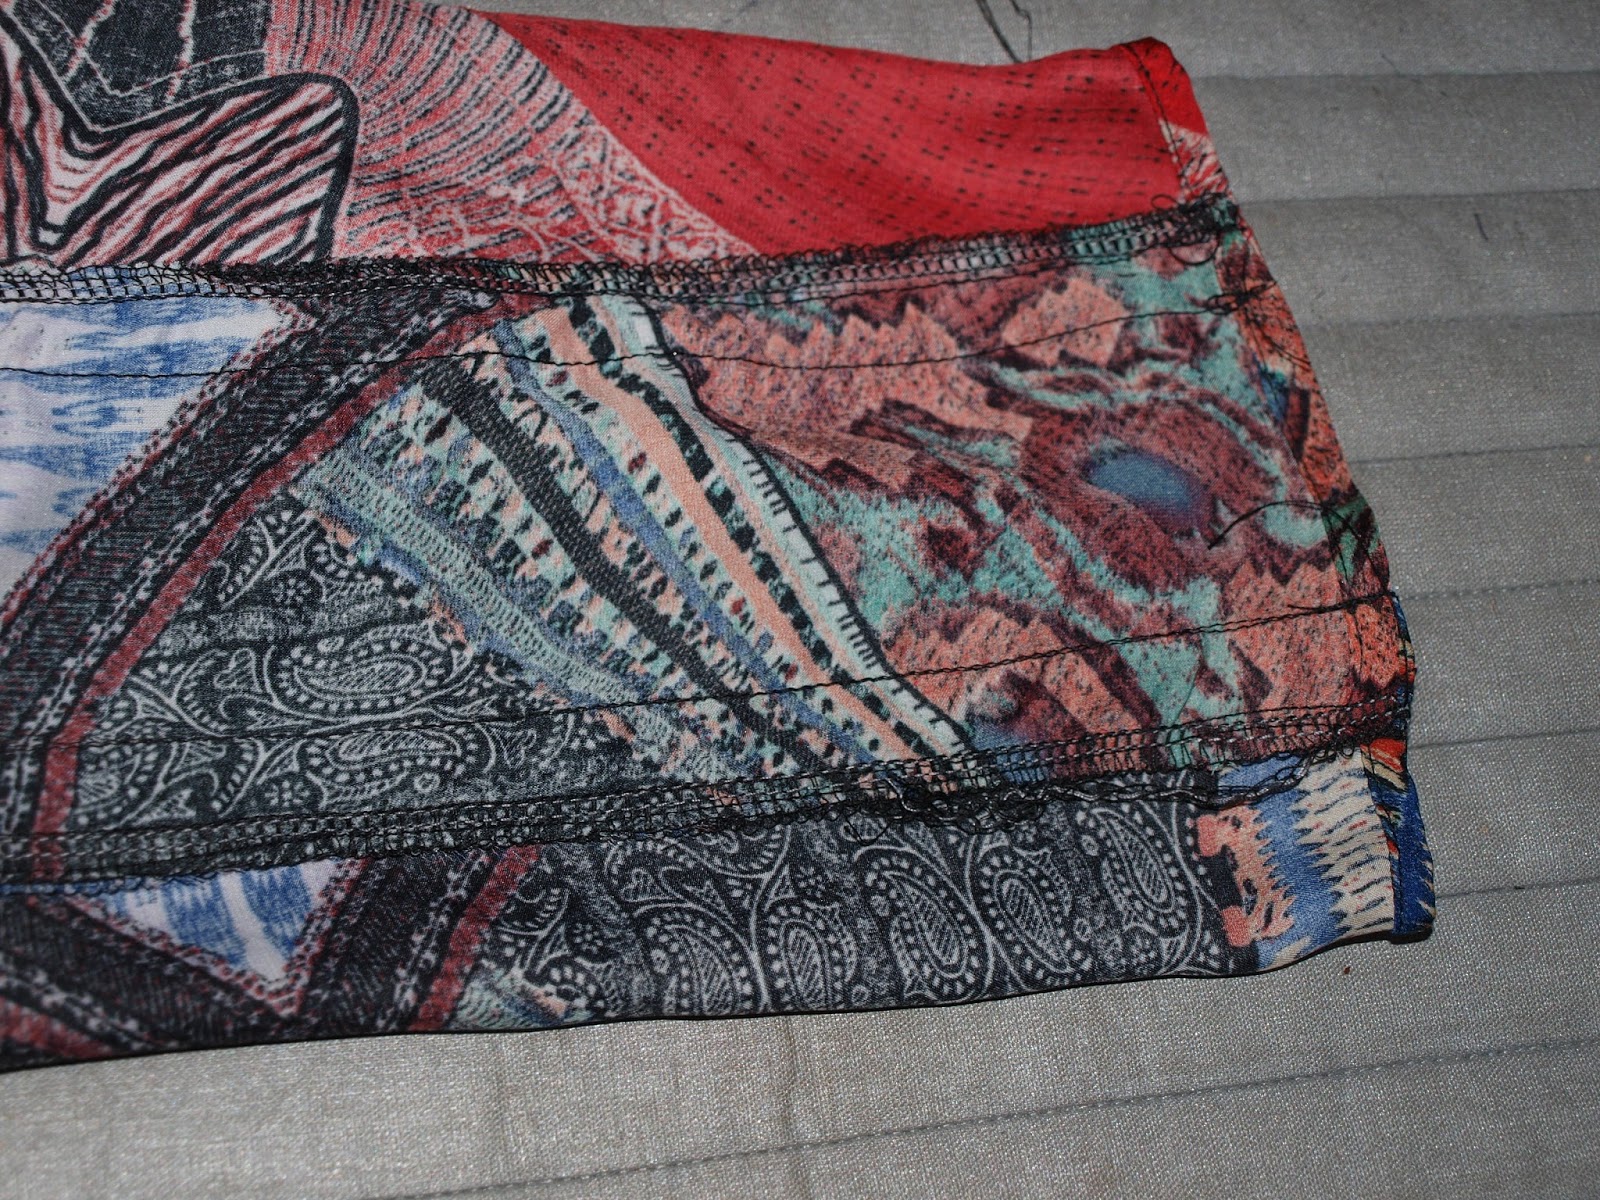
The next step was to hem the shirt tails. I decided to do a rolled hem using my serger. I was worried the top would be a little shorter than I like if I did a normal hel. Plus I figured the rolled hem would match my drawstrings.

Then I sewed the side seams.

Then I finished the hem on the sleeves. Next it was time to add the drawstrings to the shoulder panel.

The final step was to sew on the neck binding. Which I somehow forgot to take photos of the process. It was done different than most tops I have sewn, but it turned out great. I was also probably ready to finish since I was sewing it around 10:30 on a Saturday night.
Here I am in my finished Carey Top.


I have to say, I think it's one of the prettiest things I have made myself recently. I already have fabric picked out to make another.
If you enjoyed my blog post, please like my Facebook Page to get notifications of new posts.
Thanks!
Some of the links in the post above are “affiliate links.” This means if you click on the link and purchase the item, we will receive an affiliate commission. Regardless, we only recommend products or services we believe will add value to our readers.”


No comments:
Post a Comment