This pattern is the Women's Hourglass Panel Pullover (WHiPP). Use the code WHIPITGOOD for 25% off through Wednesday (01/27). Buy it HERE.
I also recommend joining the Duck Butt Designs Sew and Chat on Facebook. They have sew-a-longs and some free patterns. Plus - you will hear about sales and upcoming new patterns.
It was so much fun testing for Katie - AND I inspired a pattern mod. A friend at work had asked me to "fix" a shirt that was too small - and she needed it the next day. Katie had just posted the pattern in the tester group and I thought -it's perfect. The pattern called for a straight hem, but I kept the original curved hem of the shirt.
Here is the shirt that was too small.

So here are all my pieces cut out.

I sewed the side panels to the front panel.

Topstitched all me seams with my coverstitch.

Then I made the yoke.

I sewed the sleeves to the yoke. Then sewed the body to the yoke.

Here is the now bigger concert tee. It turned out super cute!

Back side.


But now it was time to make the real deal. Here are all my pieces.

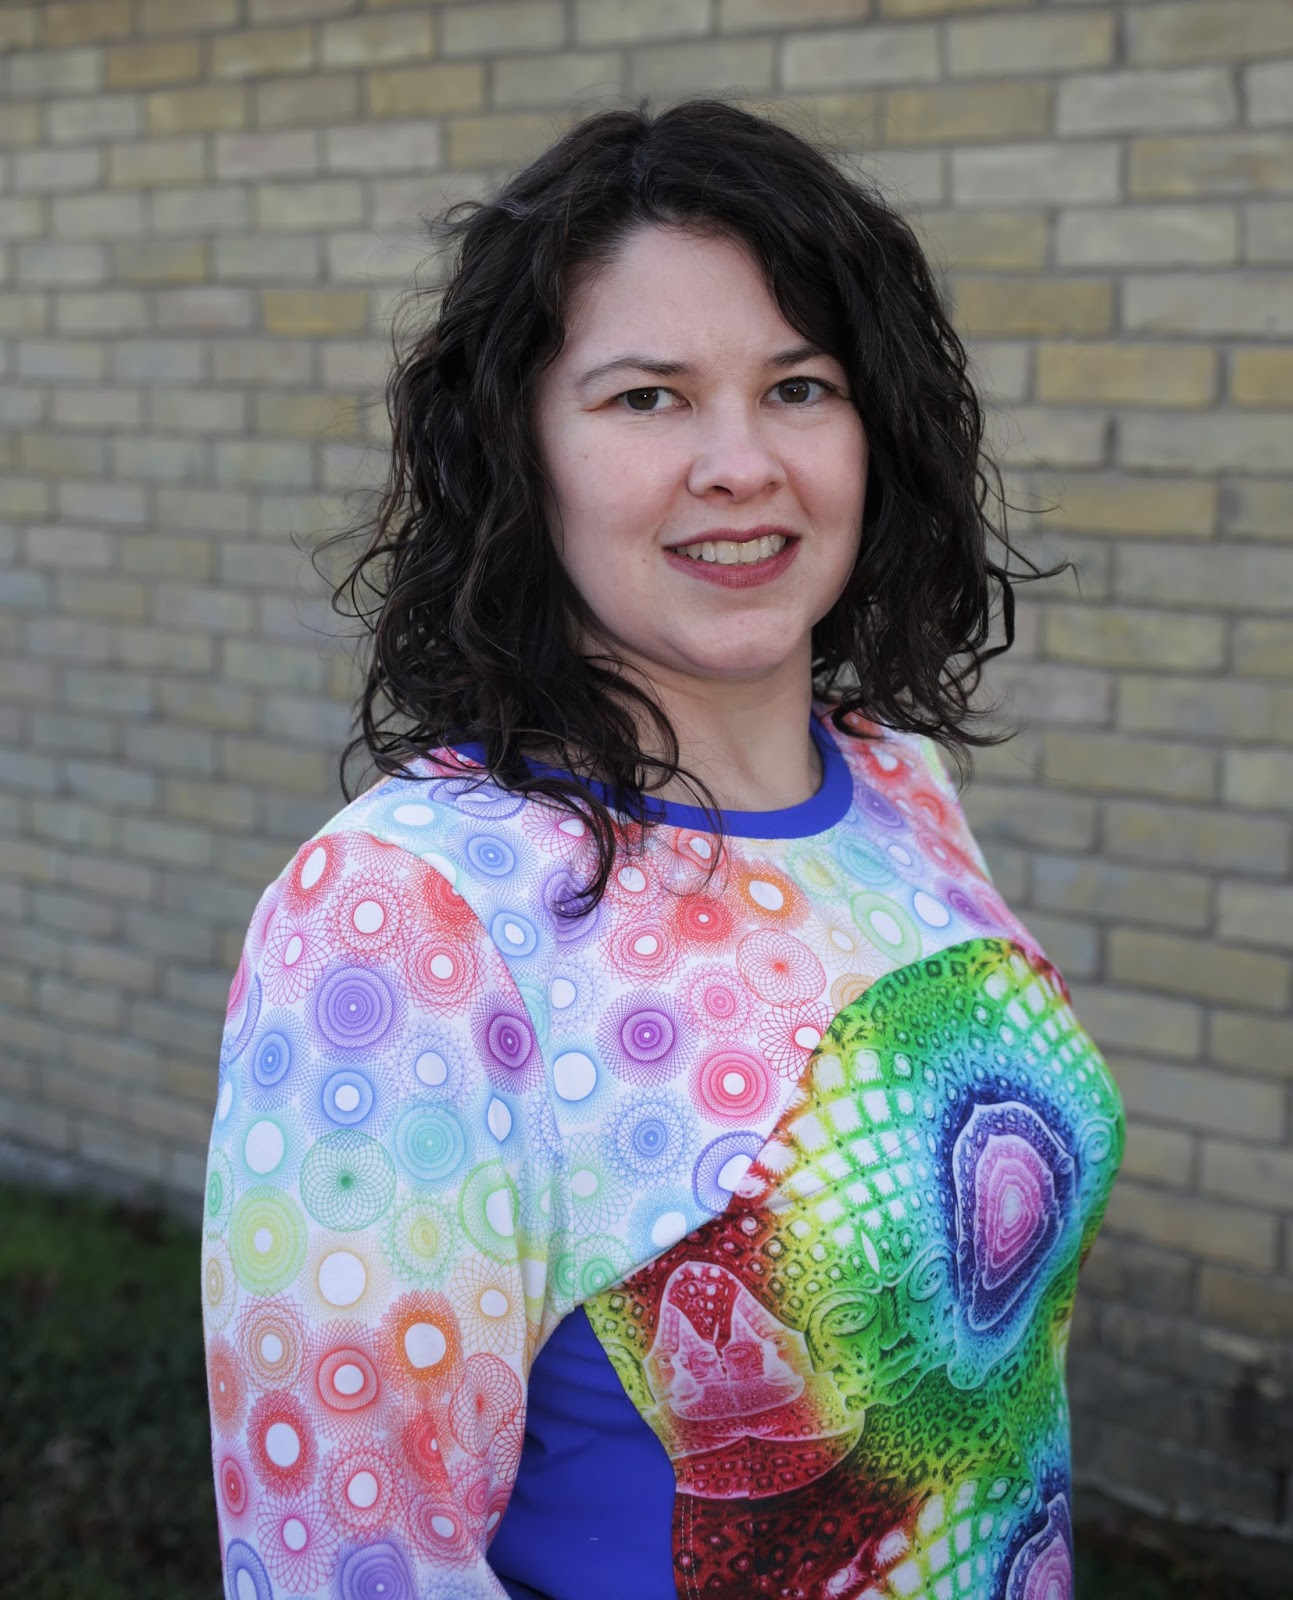
I love this Alex Grey print from Pink Zeppelin. I've been hoarding a yard for something special, and bought a flawed remnant not too long ago. So I decided to use my flawed piece for this top.

The Alex Grey print is so bold - I needed something to go with it that was equally vivid. So I chose this Spirograph print from MK Designs. Isn't it so cool?

I also needed a solid to tone things down and ground it all - so I used this bright blue supplex from Zenith & Quasar. Here is my front panel sewn together with the side panels.

Topstitching thanks to my coverstitch.

Adding the back panel.

Back side with coverstitching.

The yoke.

Time to add the sleeves.

One sleeve down - one to go.

Now to stitch the side seams of the sleeves and the yoke (pattern directions have changes and not done this way).

Look at my perfect seam!

Yoke is done. Then I added the body - but my photos of that magically disappeared (or I forgot to take them).

Here I am in my "wild" WHiPP -


Then I made another. This time with a curved hem and a cowl. I love cowl necks. This one is a little long on me and really needed a belt to make it look great on me. Otherwise - I looked a little slouchy.


No comments:
Post a Comment