Zenith & Quasar recently began offering active wear knits. I had tried the brushed heathered (blog post here) and decided to give the Supplex a try. Supplex is a jet air textured nylon that gives the fabric a feeling of natural cotton, while still giving you the performance benefits of nylon. It is breathable, faster drying than cotton, crease resistant, anti-pilling, and durable, making it perfectly suited to the active sports, lifestyle, intimate apparel, and dancewear markets.
Patterns for Pirates recently launched a new legging pattern "Peg Legs". The pattern is free with a code (click code to go to the free code) you can only get if you are a member of their Facebook Group. I decided to give this pattern a try with the Supplex.
For the sew-a-long, I would recommend putting the pattern together and cutting it out on one day. Then choose and cut your fabric. Then sew it all together. It's easy to get this done in one day, but if you can't dedicate an hour to it all at once, then do a little at a time.
With PDF patterns sometimes taping the pages together can be challenging. This pattern has no trim pages - which can be easier. I find the best way to put this type together is to tape them together on my patio door. I have to do this when there is plenty of light coming through that door so I can see through the paper.
I start by taping the first piece in the upper corner.

Then I place the next piece lining up the "B2" in the corner (shown below) and the lines.


Now the second row. Now I tape the pieces on the side to the glass as well.

3 rows done.

All taped together! And if you are wondering what is in the cage outside my door - that's Nibbler my pet prairie dog. You can see him in the lower left corner of the photo below.

Now to cut out your size. Based on my measurements - Hips 44" and high hip 40", I need the XL size.

I did make a few changes. The front rise on these looks really low. I like my pants to go to my belly button. So I cut the waist band at the largest size for the extra height. My finger is where the XL line is.

I'm also short - 5' tall and even though the pattern says 28" inseam, it is longer than that. So I folded the legs between the ankle and capri lines.

Here is my leg folded up.

I laid my fabric on my cutting table and folded it so that it was just as wide as the pattern piece. I then placed my pattern on top and put my pattern weights all the way around to keep it in place.

Then I used my rotary cutter to cut the pieces out. When I got to the waist, I decided to go ahead and cut the rise a little higher since I had the extra fabric.

Then I needed to cut the waist band. The remaining fabric will be used for the band and it will have to go the opposite direction of the legs. Since there is a little less stretch the opposite direction (not much difference) they waist band will hopefully be tighter and keep things held in better. I folded the piece in half and cut the edge straight.

The pattern called for a 7" band, but since I had some extra fabric, I went with a 10" band. My ruler is 4" wide for reference.

Band cut and folded in half.

Now to cut to length.

Here is the band and the legs cut out.

The first step in the pattern is to iron the seam allowance on the hem. Here is the hem folded at about 1".

Since this is a nylon and spandex fabric, you want to be careful ironing it. I always use a pressing cloth when ironing sensitive fabrics. A pressing cloth is just a piece of cotton fabric - usually white. The one I am using is from a Floriani embroidery stabilizer kit I purchased years ago.

I placed the pressing cloth on top of the hem and used my iron on the hottest setting. I went over the hem several times pressing hard. Here is what it looked like afterwards.

It just curled up a little. After it cooled down you couldn't tell where it had been pressed. I don't think I would bother with this step when using supplex or the heathered poly/spandex.
Now to sew the inseam of each leg. I like to lay them out and make sure I have them each folded with the right sides together. Pin or clamp them together.

Now to the serger. If you don't have a serger, be sure to use a stretch stitch.

I lined up the edge of my fabric with the first solid line.

Serged seams are done. Now turn one leg right side out.
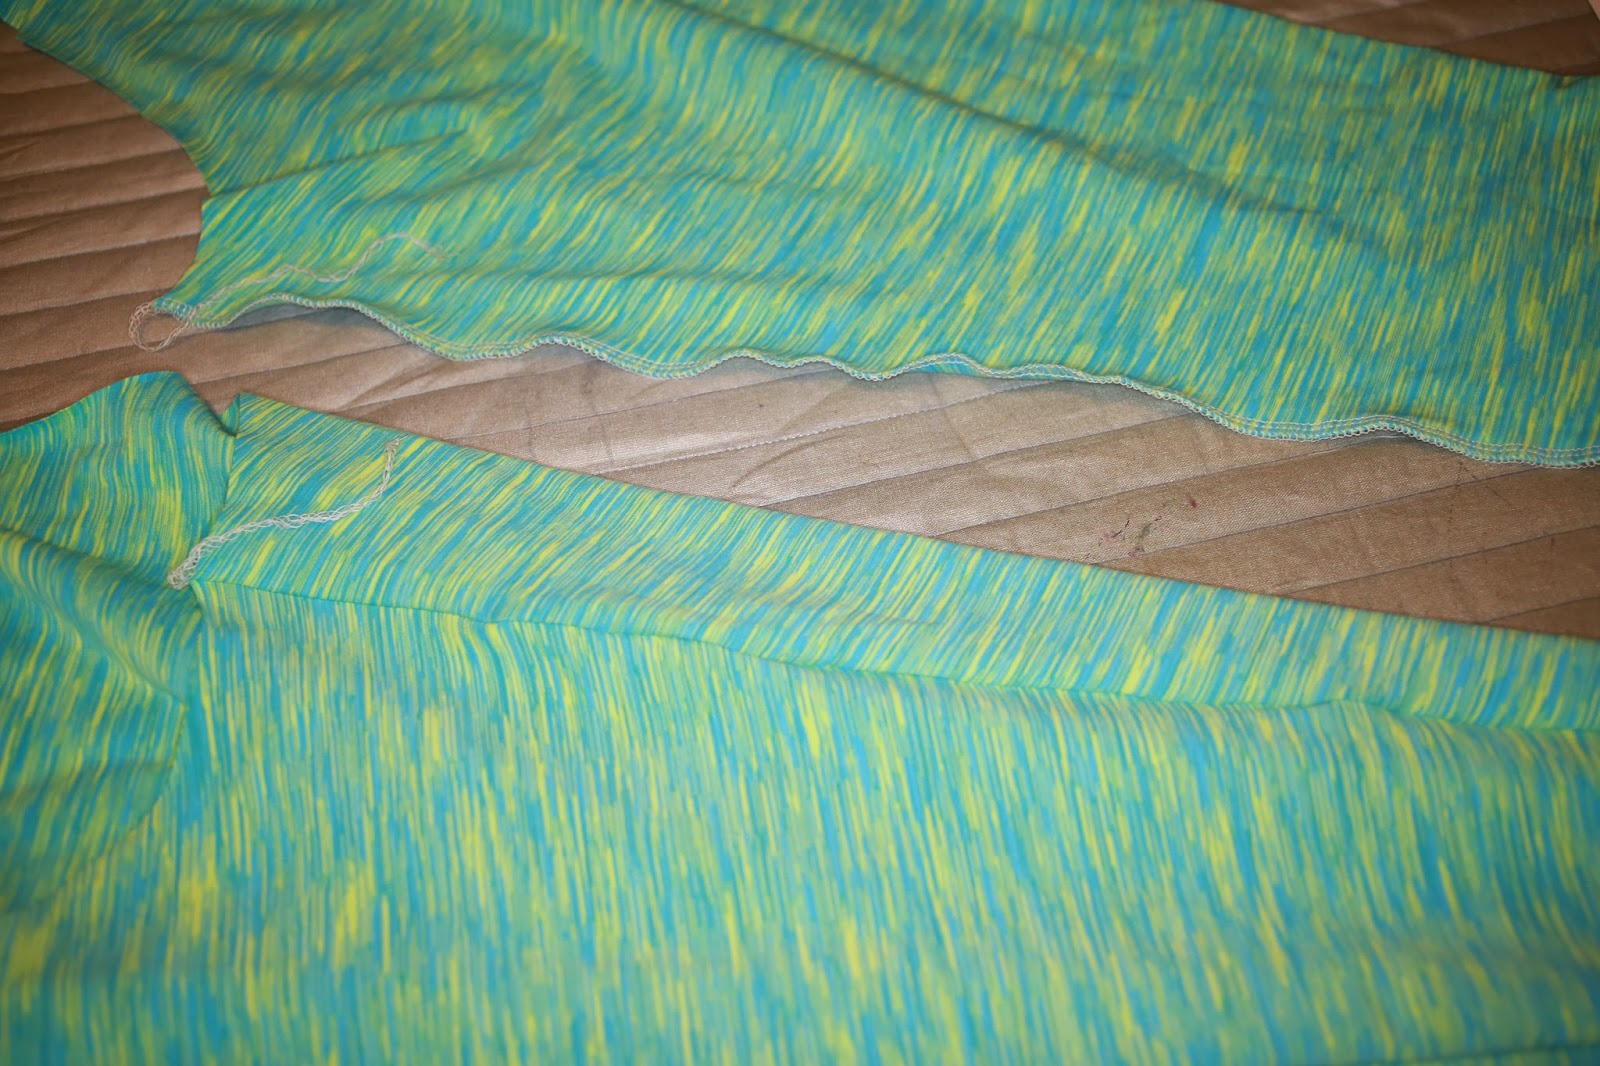
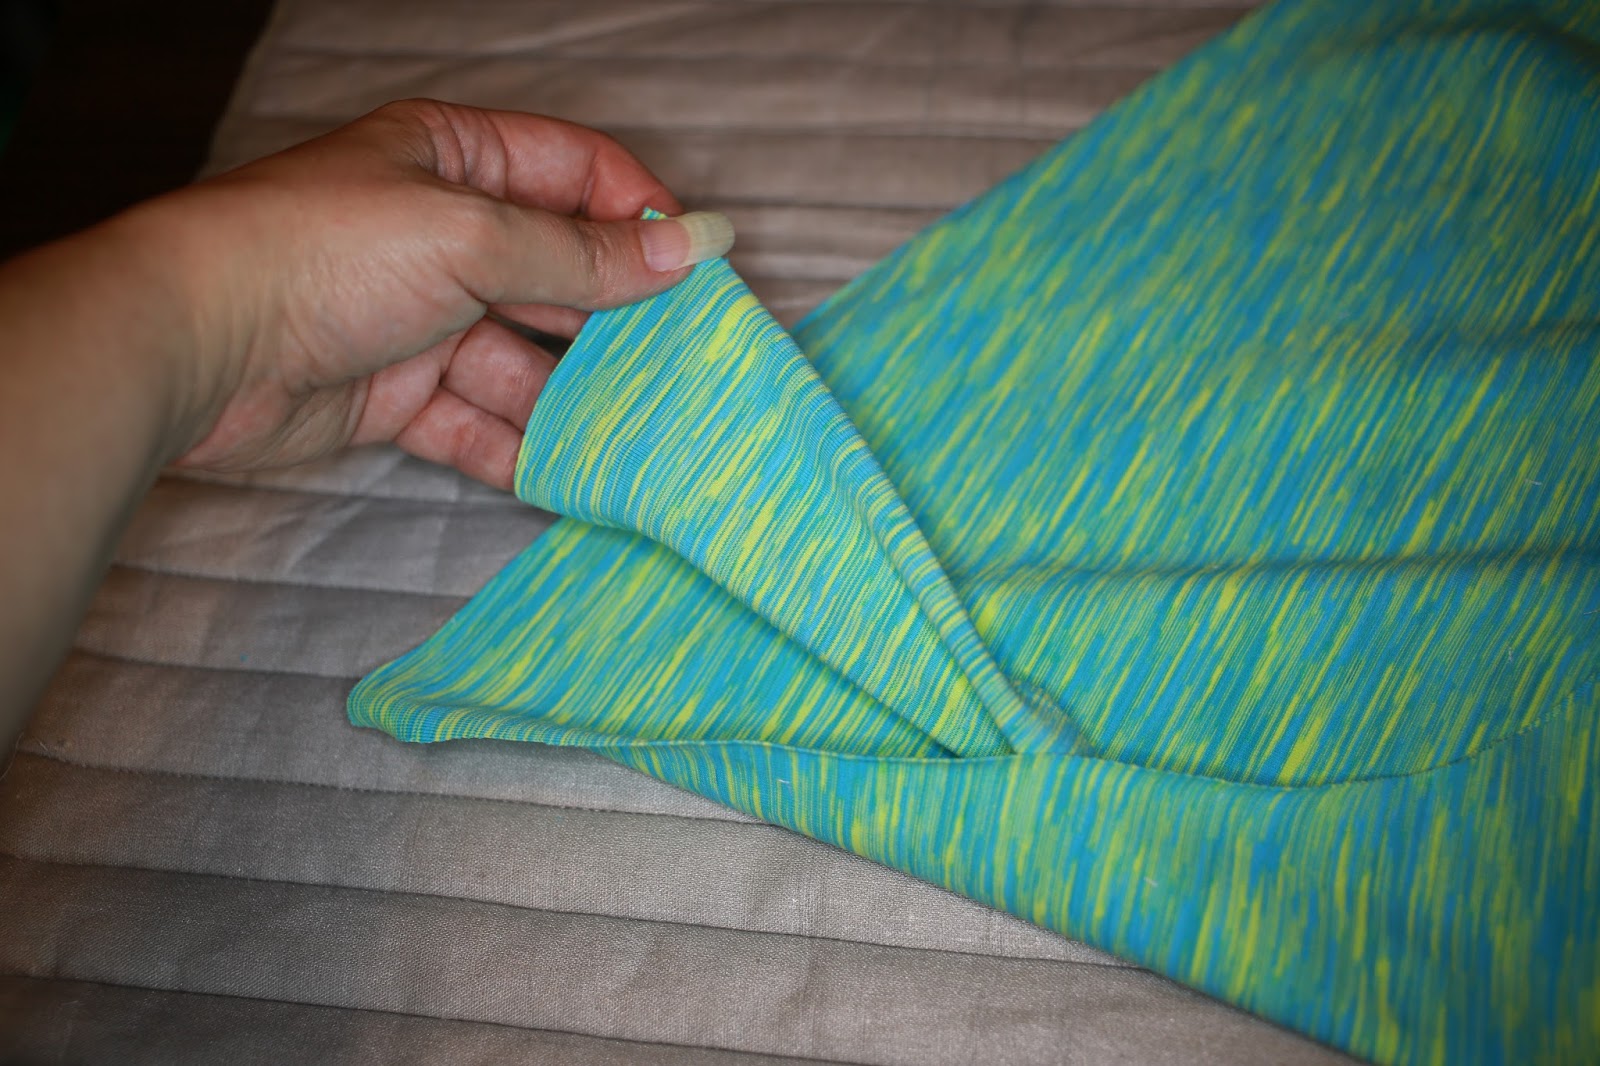
Put the leg that is right side out inside the leg that is inside out. The right sides of the legs should be together.

See - 2 layers.
Make sure the inseams match up. Now pin or clamp your pieces together to serge or sew them together.

Now sew/serge from the front to the back

Turn them right side out.

Here is the crotch - mine got off a little, but that's okay. If you are going to be extremely active in these, I would add a gusset.

Now for the waist band. Fold it in half width wise and sew/serge the ends together.

Turn it right side out and now fold in in half lengthwise. Find the half way marks to attach to the waist of the peg legs.

Here is the band pinned onto the legs.

Here they are serged.

Now to hem the legs. I use my coverstitch for this step, but you can do this with a regular sewing machine with a stretch stitch or leave them raw.

I love my coverstirch. It makes such a nice finish. I had wooly nylon in my looper. I don't have many colors of wooly nylon so I used a dark green and a lime green for the needles.

Here I am in my peg legs and my Petri Dish top.

If you enjoyed my blog post like my Facebook page and get notification of new posts.
Thanks!
Aimee


No comments:
Post a Comment