My pattern testing for apparel items happens rarely these days. I try to be pickier when it come to pattern testing for clothing as my wardrobe doesn't need as much variety as it used to. Working from home full-time is wonderful and I love having a more casual wardrobe. I only sign up to test a pattern if I can see myself wearing the item frequently and it helps if I can wear it for a lunchtime walk, but also look nice with dressy pants for a rare trip into the office. When I saw the Soller Top & Dress pattern from Kennis at Itch to Stitch, I knew it would fill a whole in my wardrobe.

For one - I absolutely love v-neck tops. I find them most flattering on me.

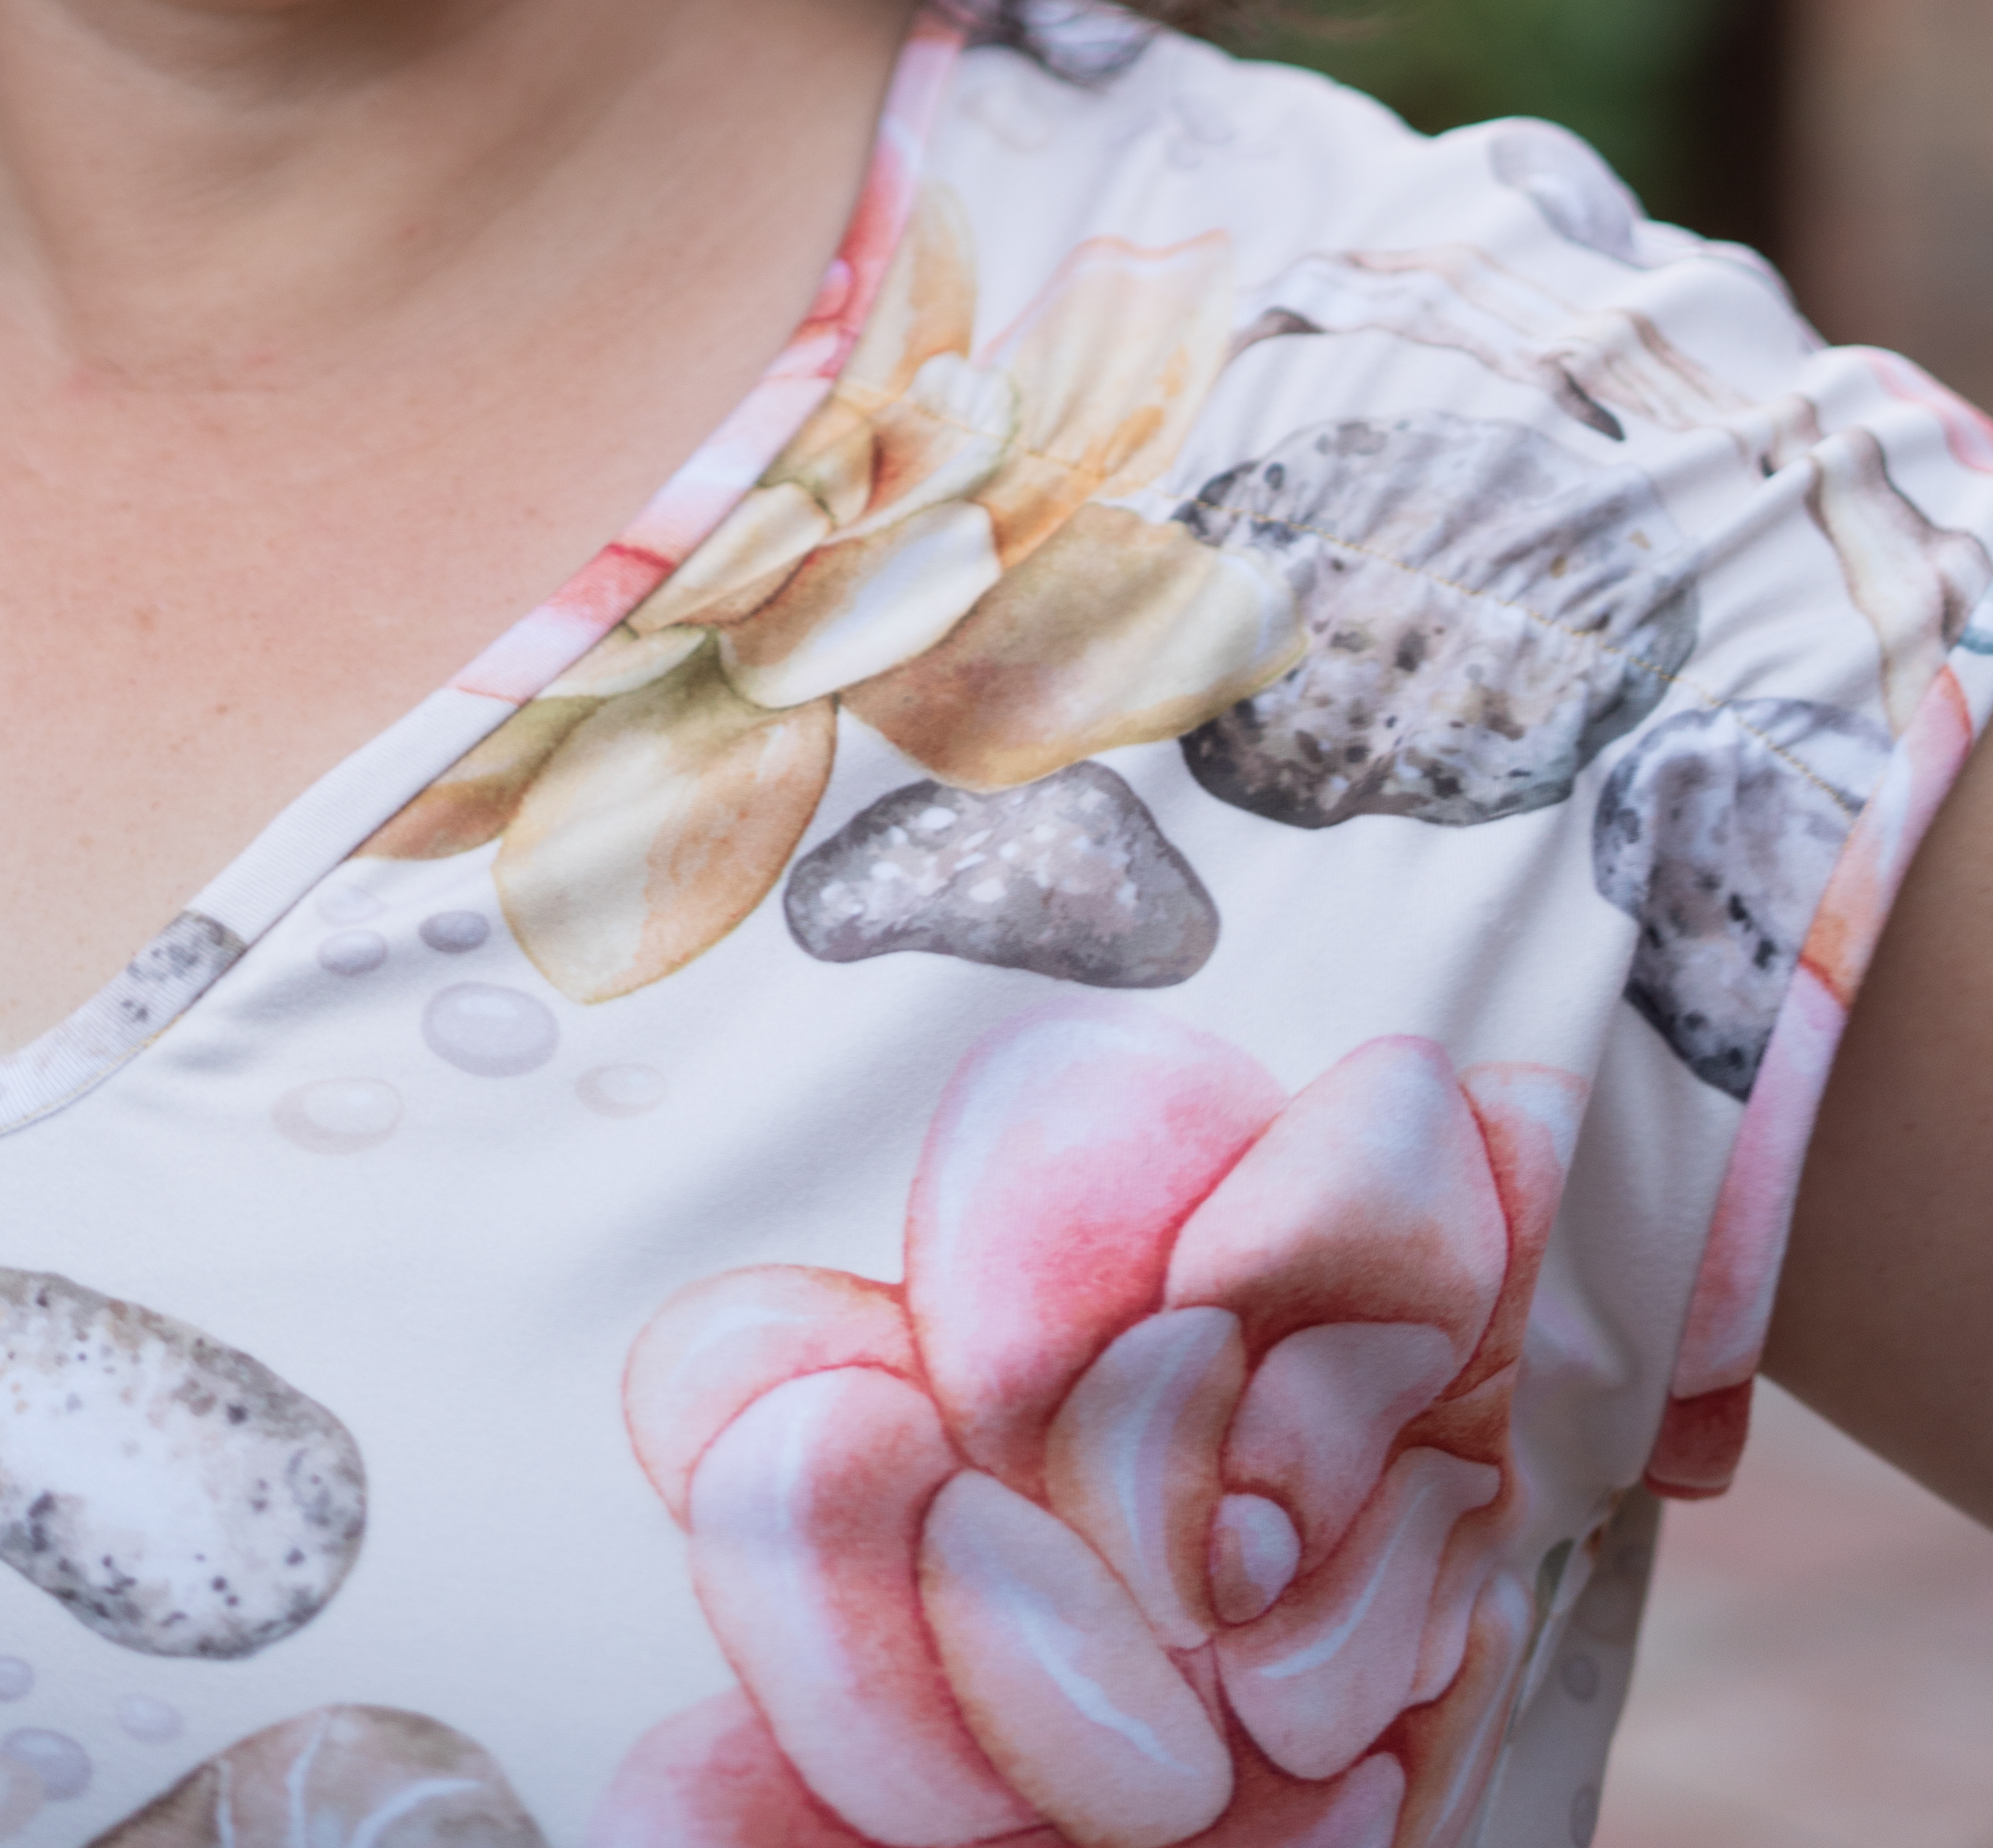
I love a top with a unique detail. The slight rouching from elastic near the shoulder provides just that detail that takes a top for ordinary to something special.
I wear a lot of sleeveless tops during the summer, but they are all either athletic style tanks or longer tunic style tops. I am kind of tired of my tunic tops and don't like wearing my athletic tops when I have a doctor's appointment. I loved that the Soller felt sleeveless, but was actually more like a cap sleeve.

The Soller above was the first one I made and I used a bamboo jersey. I did not shorten the pattern for my height and found the top was a little short for my taste. I felt like it ended at my fullest paart. The one below I made with athletic brushed poly and added an inch to the length.

The best thing about the Soller top is that it takes less than a yard to make! I graded my top from an 8 bust to a 16 hips (yes my butt is that big) and I could easily make a Soller with a 26" cut of knit. I raided my remnant bins to make all my tops except for the first one I made - the blue elephants on bamboo jersey and the succulents which were on athletic brushed poly.

The Soller has a relaxed fit and is a super quick sew. The v-neck and sleeves are both finished with a bound edge - this is easy to do on a sewing machine using a stitch in the ditch foot. The v-neck is done in the round and then folded and sewn to create the v - so easy to do! I hemmed all my tops on my sewing machine as I didn't feel like getting my coverstitch out just for hems. I did my binding then hemmed.

I had one top that did not come out as planned. I had this amazing hand dyed bamboo interlock that I decided to use that I only had a small piece of. I laid my back piece on the fabric and saw I had just enough to cut it height wise. Yes! Then I went to cut the front and found my cut of fabric was not cut the same width all the way across and did not have room for my full front piece. So I cut the top at the line for the elastic guide and then cut the piece above the elastic separately. I then sewed them together. I tried sewing elastic over this seam for my gathering, but it wanted to curl instead of having nice gathers. I ripped off the elastic and made pleats instead. I didn't like how my seam looked so I dug into my draws from a trim to sew on top and found a stretchy lace trim that I thought looked good. I like how it turned out and might do one like this again.

Follow me on Instagram and Facebook!
Disclosure: This post may contain affiliate links. These links provide me with a small compensation if you make a purchase using my link. There is not cost to you when you do this. My thoughts and opinions given in this blog post are mine.
Disclosure: This post may contain affiliate links. These links provide me with a small compensation if you make a purchase using my link. There is not cost to you when you do this. My thoughts and opinions given in this blog post are mine.


No comments:
Post a Comment