Showing posts with label quilt pattern. Show all posts

Hearth + Home Quilt Pattern by The Seasoned Homemaker

I recently tested the Hearth + Home Pattern for The Seasoned Homemaker. This pattern is 2 quilts in one. Both quilts are made using the same blocks and layout, there's just a variation in the fabric placement of the 9 patch blocks. I tested the Home version which is described as having a vintage feel and made a scrappy version. The Hearth version has a star like design with more negative space.


This has been a record setting summer in Dallas, Texas. The nonstop 100+ degree days have had me longing for the cooler temps of autumn. I have made a lot of brightly colored quilts this year and thought it would be nice to make one with a fall inspired color palette. 


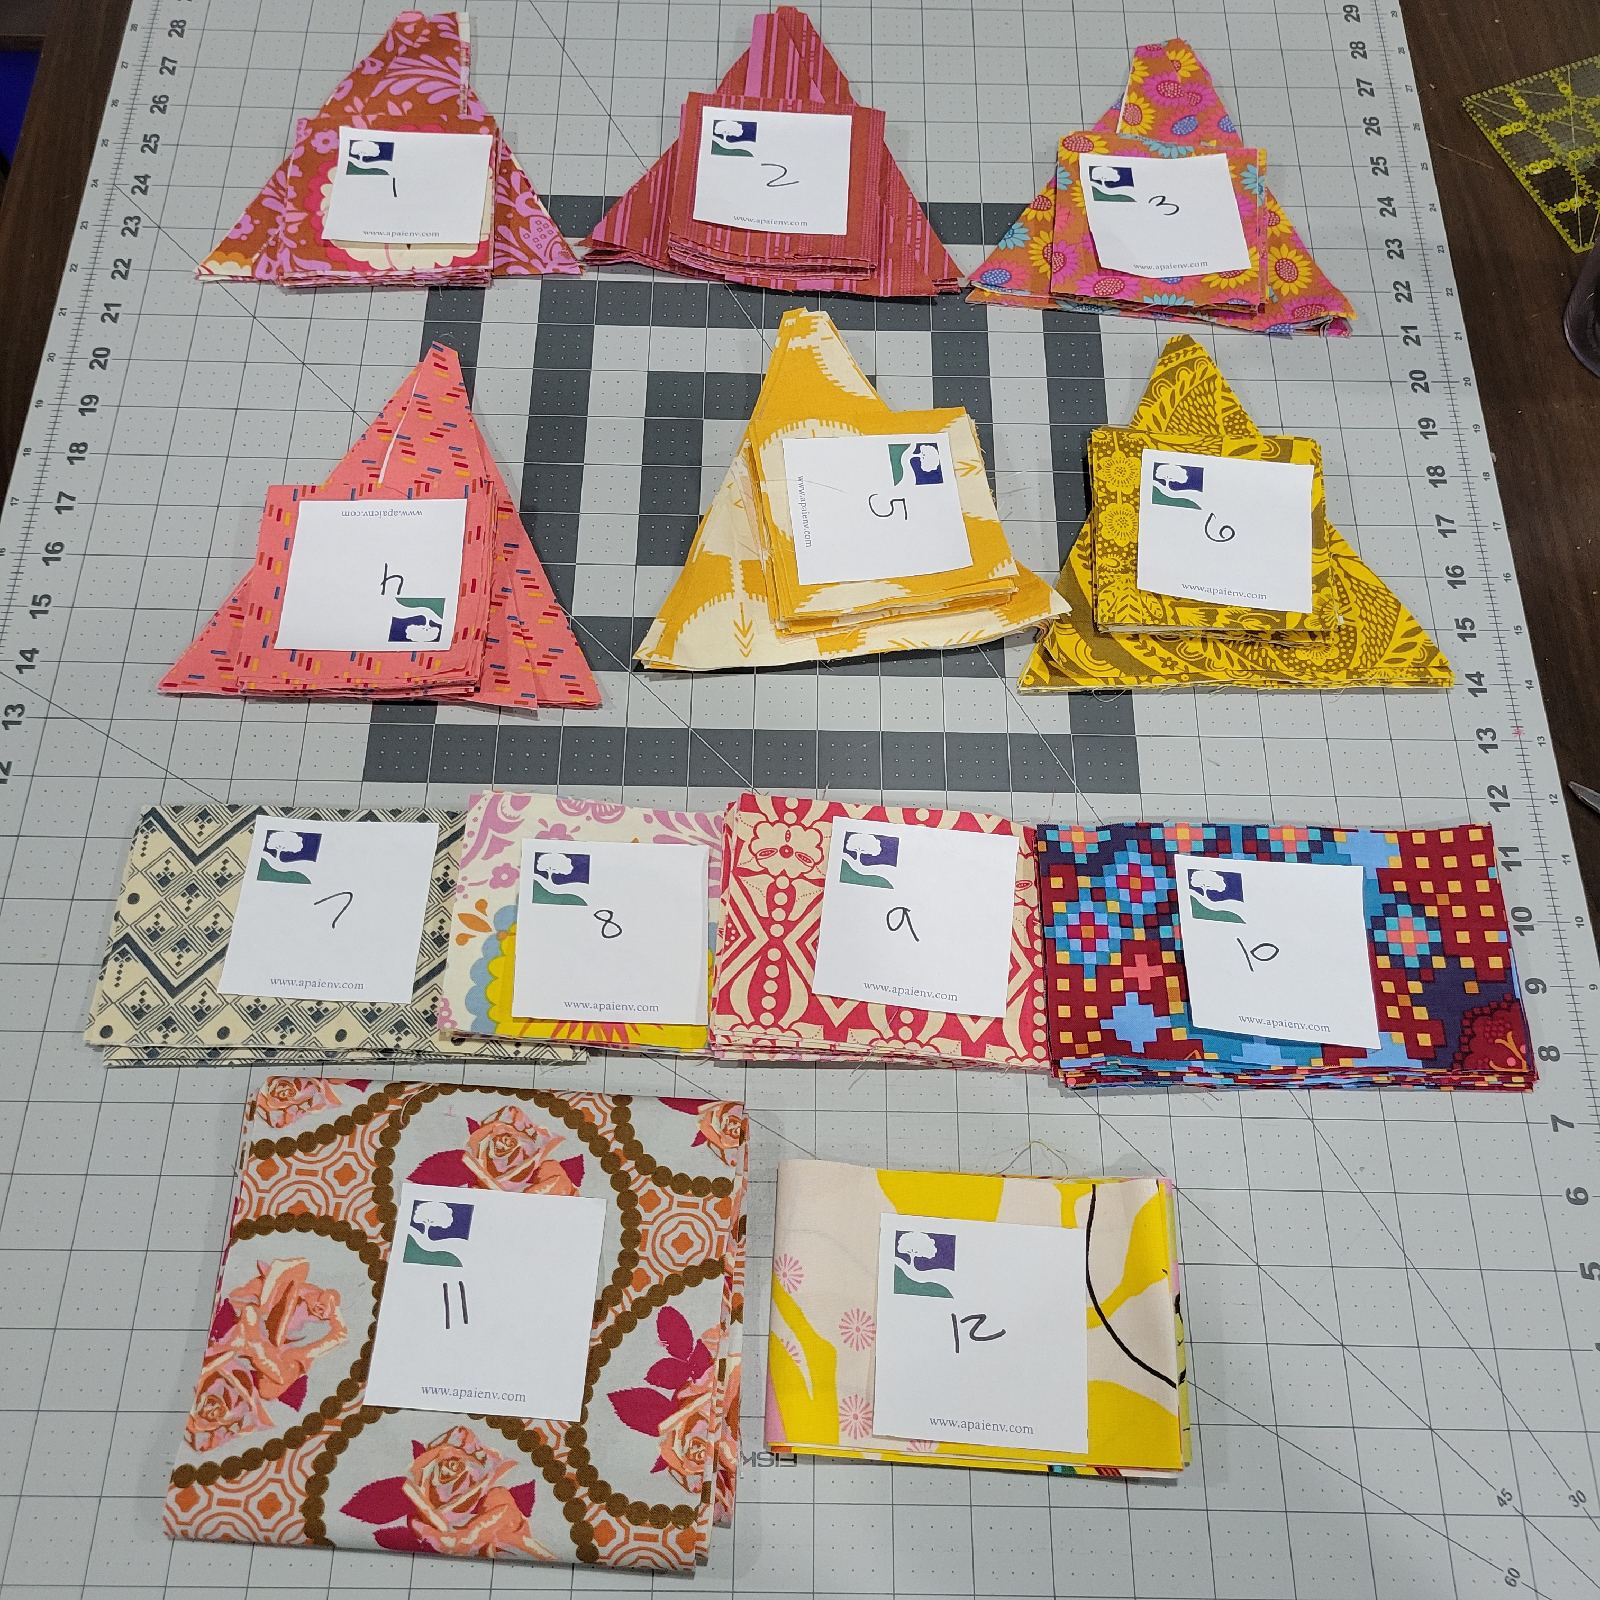
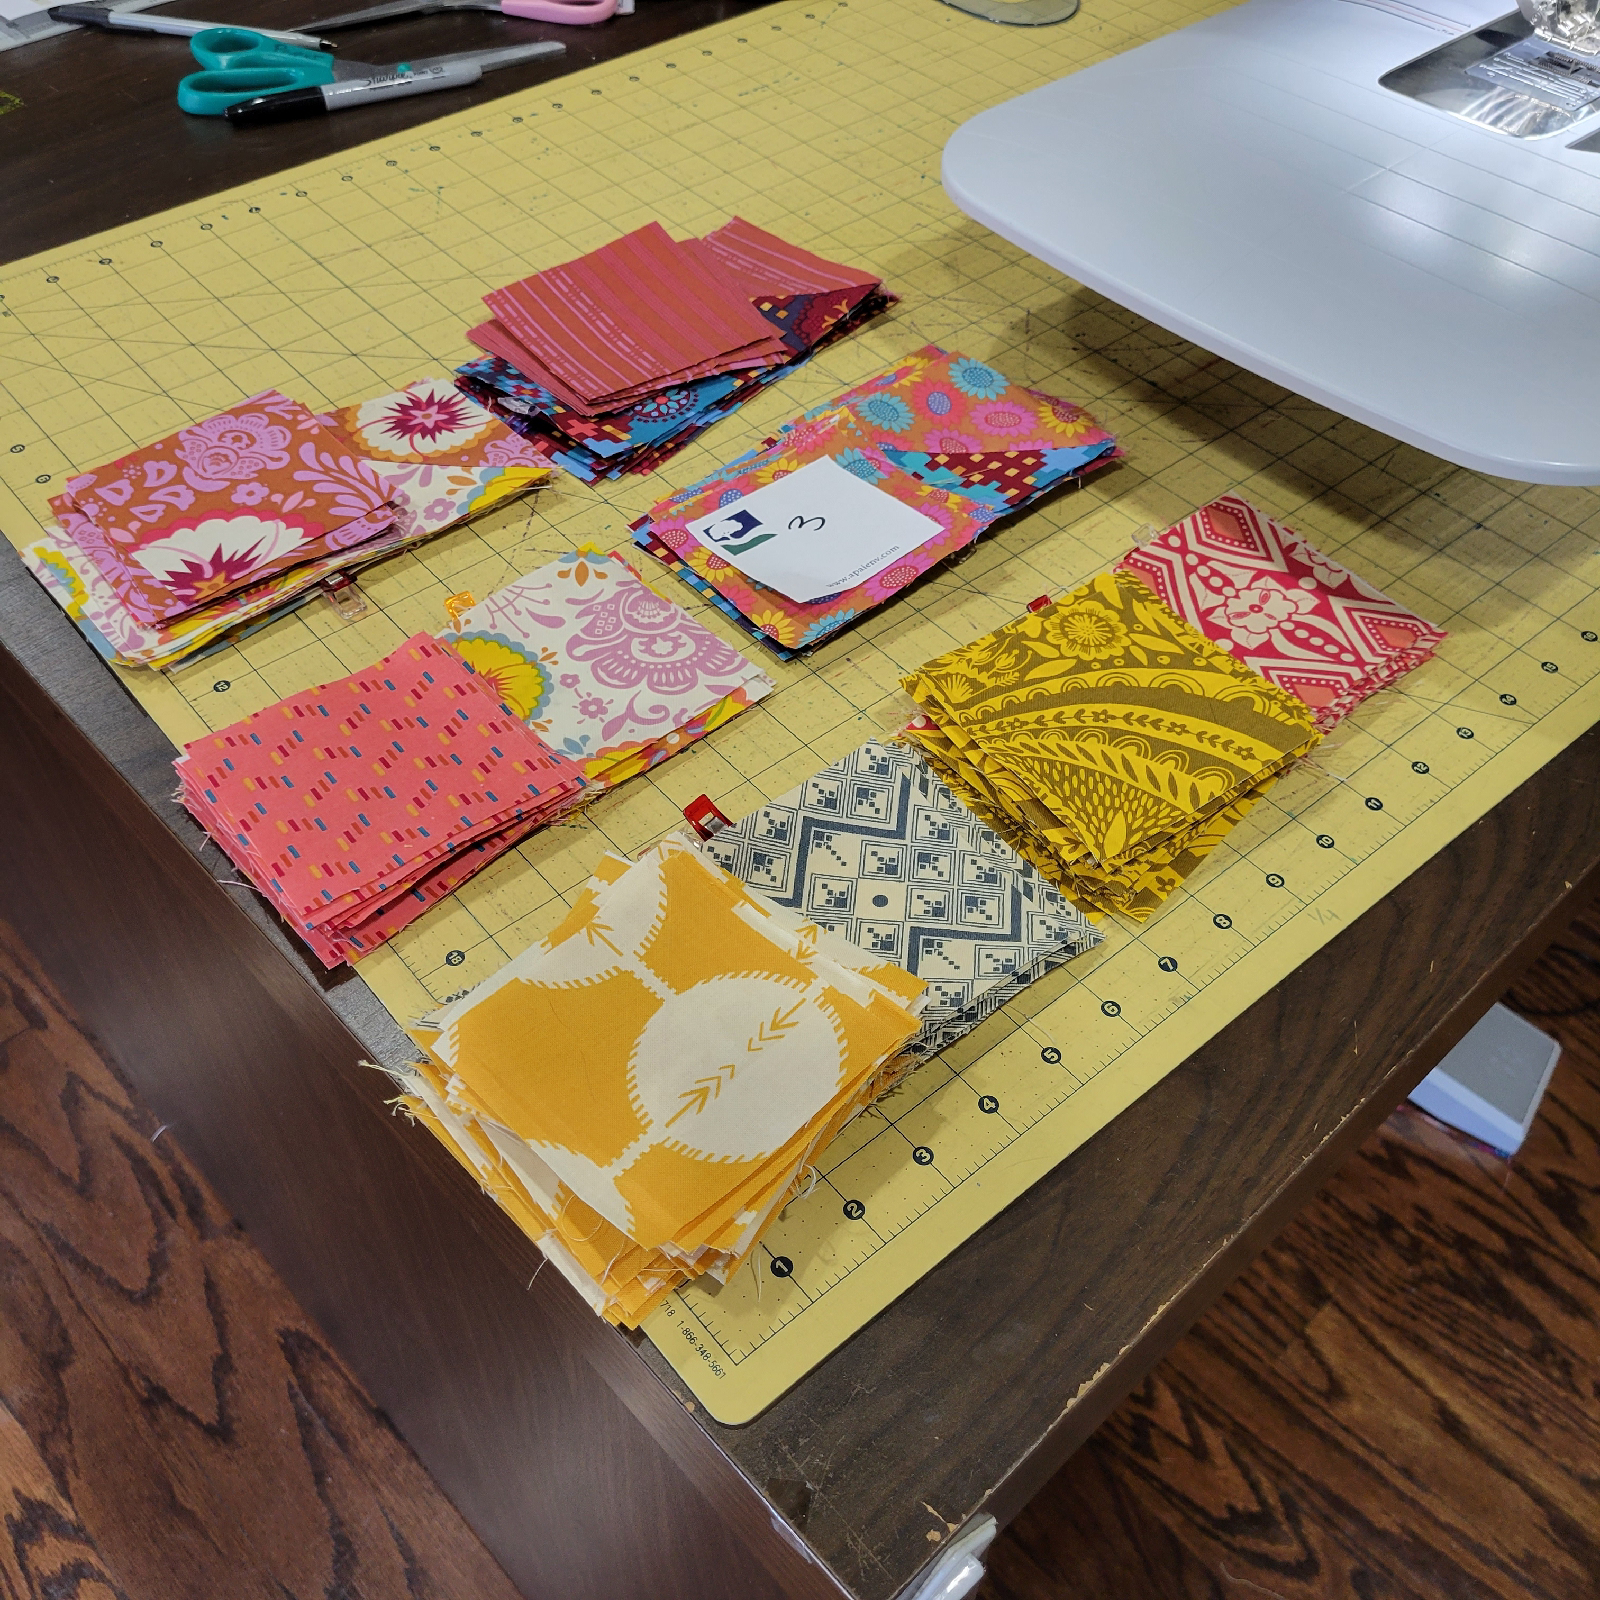
I had fun digging through my fabric bins for fat quarters and remnants in shades of teal, gold, and maroon (I really wanted purple like eggplant, but couldn't find enough fabrics in this color in my scraps). I found so many fun prints and blenders and it was fun to mix and match them into the 9 patch squares. For the snowball blocks, I went to my cart of precut scraps and pulled out the colors I needed in the size needed for these blocks. It was such a timesaver having my scraps precut into common sized squares and strips.


For the background fabric and borders I went through my remnants that are less than a yard in size. I used two different shades of brown for the background fabric. For the borders I used two fabric leftover from projects I sewed for Jaftex. 


My quilt features scraps from  previous projects, random fat quarters and scraps that I've acquired from swaps and secondhand. In addition to the two different quilts that can be made from the pattern, there will also be a tutorial that provides instructions to make blocks and a small quilt with the trimmings of the snowball blocks. 


I loved how quick and easy the Hearth + Home Pattern was. I give it bonus points for being scrap friendly. I really want to make the Hearth version as well - and also make it scrappy.  Below is a graphic of both versions.

There's a discount code available when you sign up for emails from The Seasoned Homemaker.


Follow me on Instagram and Facebook!


Week ending January 23, 2022

With my Monday off from work, I did some sewing, went to a doctor's appointment and got sosme seeds started in my greenhouse  in my garage. First off, I wanted to do some work on my 2021 temperature quilt and got it pieced through April - I think. I love how it looks so far. January is on the left and those white and light pink pieces are Winter Storm Uri.


I got fabric in the mail this week. I had to order some for another pattern test that I'm doing - I'll share more photos of it next week as I didn't work on it this week other than to cut into the fabric I had to order. I had run out! But I got these Ruby Star Society Charm Packs in the mail from Stitch Supply Company from an Instagram giveaway!  These came in a nice zippered project bag.


I signed up for another quilt pattern test! This one is for Lifting Limits Quilting and it's going to be so good! I am determined to use my "good" fabric especially my hoarded fabric from Anna Maria Horner. She's my favorite fabric designer and I have hoarded some fabric from her for way too long. I really need to use it and get more enjoyment from it. I agonized over my fabric pull for way too long. I needed 12 fabrics - which I always feel like the more fabrics the better. But it can be so hard to make a final decision. 


I started cutting them out and kept checking how I liked them all together.


I was happy and relieved once I had everything cut out.


After everything was cut, I took some time to fold and organize all my Anna Maria Horner remnants and scraps. I think at some point this year I want to make a scrappy quilt with my AMH scraps and remnants - and any bonus blocks I make along the way. The bag on the bottom left is filled with truly scrappy bits and is the project bag that was part of my prize from Stitch Supple Company. It can hold a  lot!


I made quite a bit of progress over the weekend and got all my flying geese made.


I took some extra time to sew a second stitch line so that I could use the trimmed wings for a bonus project later on. I now have a whole bunch of HSTs in these fabrics. 


Here are my flying geese.


Now I just need to get them all trimmed this coming week. My bonus blocks are in the box shown at the top of the photo. 


I'm hoping to get at least one quilt top finished this coming week - but that might be a stretch. Thankfully I have plenty of time to get both done and  don't need to rush. One silly project I have in mind to do in the coming month is to make the cats their own quilt. Yes - that's right. I'm making a quilt for the cat. I'm thinking a 20" quilt or two that they can have in their kitty beds. 


Needle Down Chin Up Retrogradient Quilt

 I recently tested the Retrogradient Quilt Pattern from Hollie of Needle Down Chin Up. This is Hollie's first quilt pattern and it is so good. First off - if you are a geologist, you might recognize the name. Hollie is a geologist and finds her inspiration from geology and nature. Being a third geologist myself, I really appreciated that and have a fondness for Hollie. She's my kind of people.


I told myself to slow down on tests as we get into fall. But I really loved this design and told myself - it's just half square triangles and some rectangles. I'm good. I'll be done in no time if I just make the baby size. Let me say - it is a quick sew! I spent way more time picking out what fabrics to use than I did actually sewing. 


I show the quilt with it being wider than taller because this is the order the design is shown in the pattern. If you see the pattern listing you will see a larger quilt and see the full beauty of the pattern when it is repeated multiple times. Not that the baby quilt size isn't striking, it's just when you see it in a larger scale your jaw will drop. 


Photography is my first love and I have been hoarding camera prints forever. I have so many in my stash and almost used a colorful version first, but felt like the scale was too large. I went with this vintage monochrome design as it was the smallest scale I had in my stash. I also had this sool photo film print that looked really good with it. These fabrics were from two different manufacturers. I recall one being from Moda, but don't remember which one now or who the other one was from. 


A week or two after taking these photos on my phone, my phone suffered a severe injury that left part of the screen inoperable most of the time. It was too early for me to upgrade so I limped along not being able to do much on my phone. Thankfully I had already backed up my photos to a private album on Facebook and on Flickr. I am paranoid about losing images and have auto-backups run in the background of my phone. 


I collect all sorts of things and have my collections interspersed throughout my home. One of my favorite collections is my collection of vintage cameras. Some once belonged to family members which makes them very special to me. I took two down from the shelves where I have some on display in my sewing/craft room to use as props. 


I also had my husband hold the quilt up for me so it was more vertical in its presentation for a photo. Since I made the baby sized, my thought was to use it as a lap quilt. One tested added a border to hers to make it slightly larger and I am tempted to do the same. But I also don't like something to big to use as a lap quilt while I am working from home because it never fails that I run over it with my chair as I move about. I did get a solid black for the backing and I bought a wool blend batting that I think will make it extra cozy. I've never used a wool blend batting before and might need to read up on them a bit before I decide to use it or not. 

Lazy Cozy Quilts - Mod Cabin Quilt Pattern

I'm so excited to share my latest quilt pattern test. I recently tested the Mod Cabin Quilt Pattern for Lazy Cozy Quilts (Posting this very late - I tested this pattern back in April and forgot to hit publish!). I tested the throw size and knew I would love this quilt for myself. I am often cold sitting at my desk in the fall and winter and thought I could use a throw to put over my lap. 


Since I was making this for myself, I decided to use some of my favorite fabrics. I love just about anything by Anna Maria Horner and have long hoarded a few designs. One is Centerpiece from the Hand Drawn Garden collection. The print is large and I wanted a pattern that would highlight the centerpiece fabric.


The collection of flowers and colors in the Centerpiece design is just perfection. I paired it with designs from the Field Study and Dowry Collections. 


The pattern includes the option to add a border to the quilt top. Initially I wasn't going to add one. But then when I saw my completed top I realized that the Eggplant Cracking Code print really stood out. I only had scraps left of that print and did not have enough left to make a border.


I went online to find some more fabric and ordered two yards. When I received it, it was the wrong color. I was crushed. I was ready to admit defeat and leave my quilt top without a border. Then my sweet friend Sharon (her blog is Sweet Mama Life) let me know she had two small cuts in her stash. I sent my son to her house to pick them up and I had to do a lot of piecing to get my border completed.


I added the border and at the time the bluebonnets were in full bloom and I decided to go to a nearby field to get photos. 


I have to admit, adding the border was the perfect touch to the top. I love how it frames it.


Of course I had to do a quilt swirl photo to post on Instagram for #quiltswirlwednesday 


I timed myself making this quilt top as it is touted to be able to be made in a day. Other testers also timed themselves and I have to admit, I was so much slower than most of them. It took me exactly 2 hours and 11 minutes to piece the top without the border. That doesn't include the time to cute the pieces - I would say that took about an hour. I also didn't time how long the border portion took since I wasn't able to cut just the strips I needed. If I had cut the border with the rest it probably would have added a few more minutes.

Follow me on Instagram and Facebook!

Disclosure: This post may contain affiliate links. These links provide me with a small compensation if you make a purchase using my link. There is not cost to you when you do this. My thoughts and opinions given in this blog post are mine.